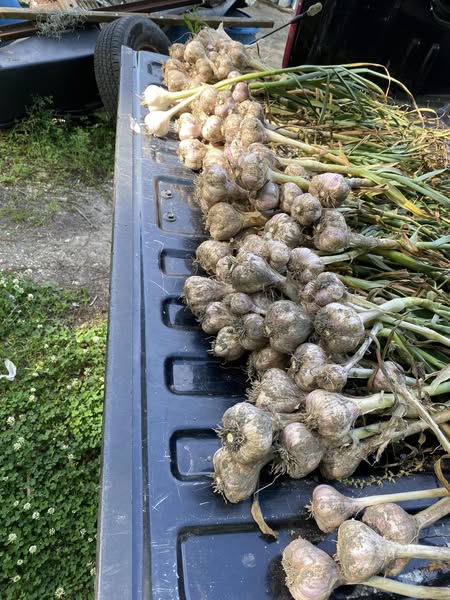
Imagine this: it’s midsummer, and you’re lifting massive, fragrant garlic bulbs out of the soil—each one plumper and juicier than you thought possible. You hold them up like trophies, feeling like a gardening wizard. But the secret? That victory started in the crisp days of fall.
Garlic isn’t just another crop—it’s a powerhouse of flavor, a natural healer, and a surprisingly easy plant to grow once you understand its seasonal rhythm. If you’re aiming for huge harvests, the magic begins long before spring—right in the golden days of autumn.
So, how do you plant garlic in fall for HUGE summer harvests? Let’s dig in.
Understanding Garlic’s Growth Cycle
Why Fall Planting Works Best
Garlic is a cool-season crop that thrives on a head start. By planting in the fall, you’re giving it time to establish roots before winter sets in. When spring returns, garlic explodes with growth—putting all its energy into forming those big, beautiful bulbs.
Softneck vs. Hardneck—Which Should You Choose?
Before planting, it’s important to pick the right type:
- Hardneck Garlic:
Best for colder climates. Produces fewer cloves but has strong, complex flavors and grows garlic scapes in spring—a delicious bonus. - Softneck Garlic:
Better for warmer regions. It stores longer and usually grows more cloves per bulb.
Ask yourself: Do I want storage longevity or bold flavor with a bonus harvest?
Choosing the Perfect Garlic Cloves
Skip the Grocery Store
Store-bought garlic is often treated to prevent sprouting and might not be suited to your climate. Instead, buy certified seed garlic from a local nursery or online source.
Look for These Qualities
- Firm, tight bulbs with no signs of mold or softness
- Large cloves—these grow into large bulbs
- Variety suited for your climate zone
Tip: The larger the clove you plant, the bigger your harvest will likely be.
Preparing the Planting Site
Sunlight and Soil Are Everything
Garlic loves full sun—aim for at least 6–8 hours of direct light a day. Well-drained, nutrient-rich soil is key. Sandy loam is ideal.
How to Prep the Bed
- Clear Debris: Remove weeds, rocks, and old plant material.
- Loosen Soil: Dig down at least 8–10 inches to allow deep root growth.
- Enrich: Mix in compost or aged manure for a nutrient-rich environment.
- Balance pH: Garlic prefers slightly acidic to neutral soil (6.0–7.0 pH).
Step-by-Step—How To Plant Garlic in Fall for HUGE Summer Harvests
Timing Is Crucial
Plant garlic 4–6 weeks before your ground freezes. For most regions, that’s between late September and early November. The goal is to let roots grow before winter without sprouting above the soil.
The Planting Process
1. Break the Bulbs Apart:
Separate cloves from the bulb, but don’t peel them. Keep the papery skin intact for protection.
2. Choose the Best Cloves:
Only plant the largest, healthiest cloves. Use smaller ones in the kitchen.
3. Plant Pointy-End Up:
- Depth: 2–3 inches deep
- Spacing: 4–6 inches apart
- Row Distance: 12 inches
4. Cover and Protect:
After planting, cover the bed with a 2–4 inch layer of mulch—straw, shredded leaves, or grass clippings. This insulates the soil and prevents winter damage.
Winter Care—Do You Just Forget About It?
Don’t Worry, Garlic Is Tough
Once the ground freezes, garlic goes dormant. Under that mulch, it quietly establishes roots. You don’t need to water it or fuss—just let nature do its thing.
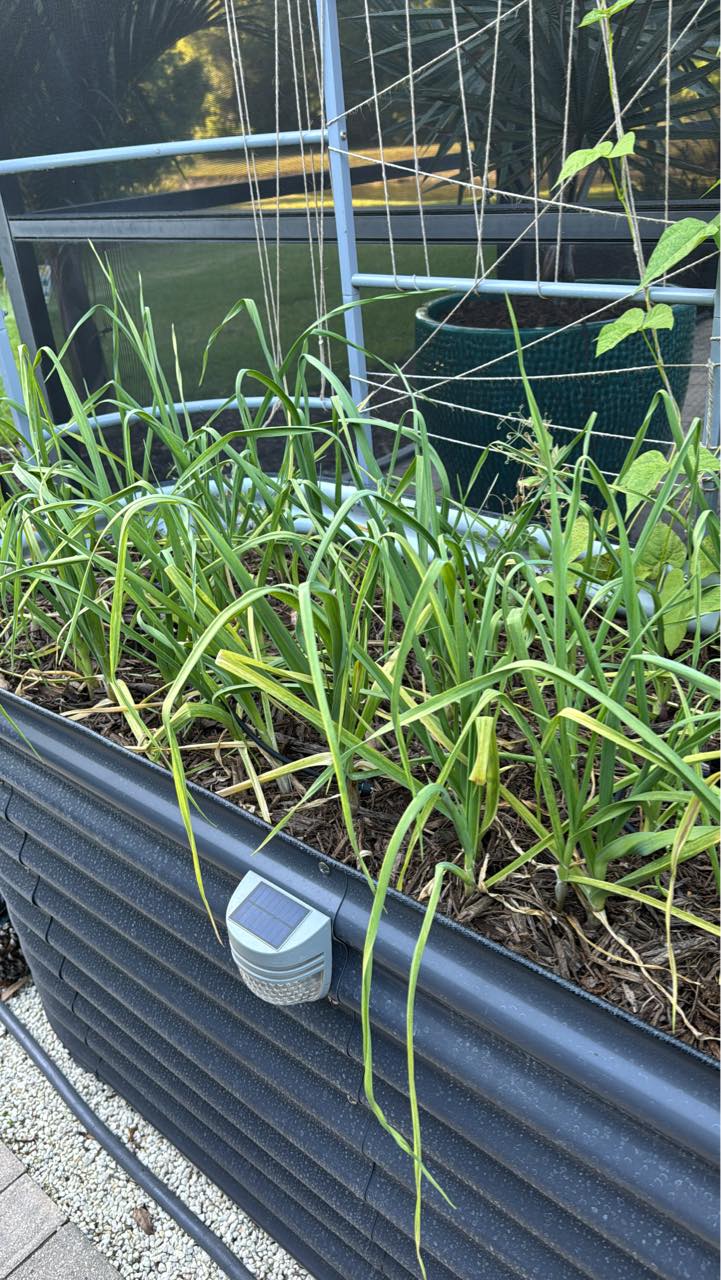
Spring Awakening—What Happens Next?
Time to Feed and Weed
As soon as shoots emerge in spring, it’s showtime:
- Remove mulch lightly to allow sun and air to reach the soil.
- Feed with nitrogen-rich fertilizer to boost foliage growth.
- Keep beds weed-free, as garlic doesn’t like competition.
- Water consistently, especially during bulb formation in late spring.
Harvesting Garlic Like a Pro
When Is Garlic Ready to Harvest?
Look for these signs in early to mid-summer:
- Lower leaves are brown and dry
- Top leaves still green (about 1/3 of them)
- Cloves feel full and firm in the ground
Don’t wait until all the leaves dry out—that means overripe garlic that won’t store well.
How to Harvest Without Damage
- Loosen soil gently with a garden fork—don’t pull by the stalk.
- Lift bulbs carefully and brush off excess soil.
- Cure in a dry, airy space out of direct sunlight for 2–3 weeks.
Once fully cured, trim roots and stalks, then store in a cool, dark place.
Pro Tips for Jaw-Dropping Garlic Bulbs
Want Bigger Bulbs? Do This
- Rotate crops yearly to prevent disease build-up.
- Avoid wet soil—garlic hates soggy roots.
- Side-dress with compost in mid-spring for extra nutrients.
- Cut off scapes (for hardneck varieties) so energy goes to bulbs.
Common Mistakes to Avoid
Don’t Let These Ruin Your Harvest
- Planting cloves upside-down
- Using tiny or damaged cloves
- Not spacing properly
- Overwatering in spring
- Leaving bulbs in the ground too long