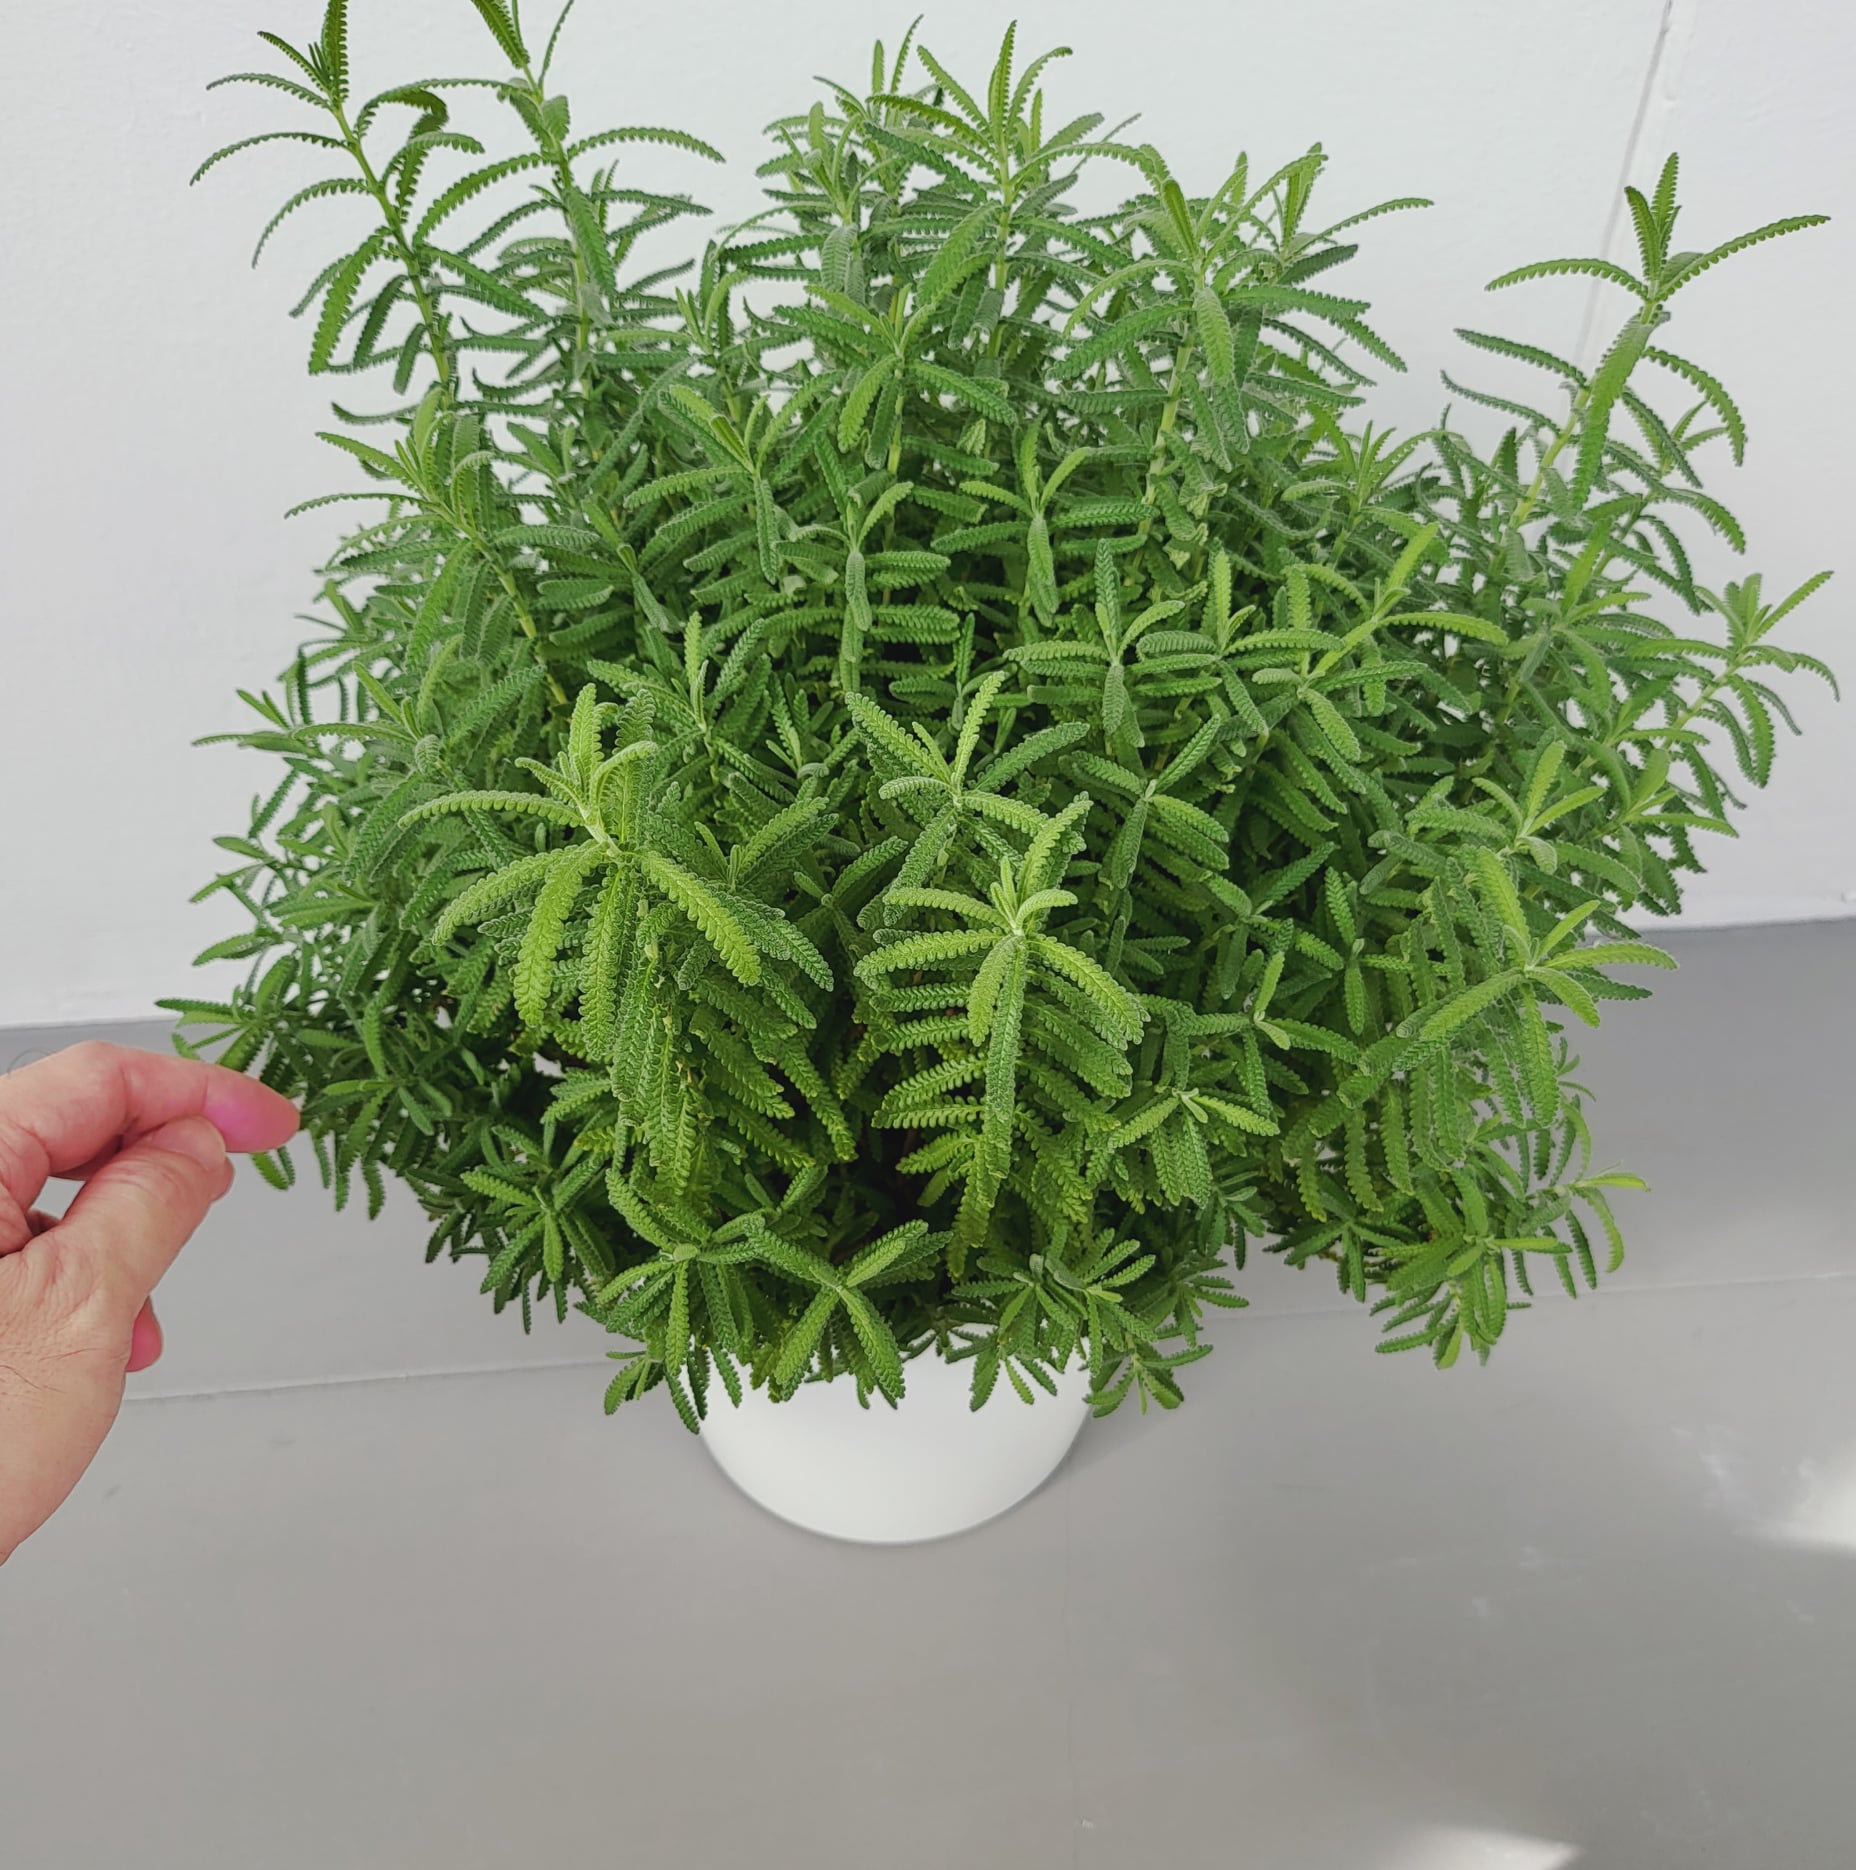
You spent all summer nurturing that fragrant pot of lavender on your porch. Bees buzzed, breezes danced through silvery foliage, and the scent? Pure joy.
But now? The air has a bite. The nights are longer. And your once-thriving lavender looks… worried.
So how do you keep it alive through the winter—especially in a pot?
You’re not alone in asking. Lavender is tough, but when it’s potted, it loses the protective buffer that ground soil provides. Still, don’t panic. With the right care, you can overwinter lavender in pots—and yes, without killing it.
Let’s walk through the how, the why, and the oh-so-easy-to-miss mistakes.
What Makes Potted Lavender Vulnerable in Winter?
Why the Pot Changes Everything
Lavender is a Mediterranean herb. That means it loves the sun, thrives in well-draining soil, and prefers dry air over wet, chilly roots.
While some lavender varieties are cold-hardy in the ground, pots expose roots to freezing temperatures on all sides. A deep freeze can turn your plant’s cozy roots into lavender popsicles. Not ideal.
Can Lavender Survive Frost in a Container?
Short answer? Yes—but only with preparation.
Long answer? It depends on:
- The variety of lavender
- Your climate zone
- The size and material of your pot
- How well you prepare it before winter hits
Let’s tackle each of these, step by step.
Step 1: Know Your Lavender Type
Not all lavenders are created equal. Some tolerate frost better than others.
Best Cold-Hardy Lavender Varieties for Pots:
- English Lavender (Lavandula angustifolia)
Tolerates temperatures down to -20°F if protected. - Lavandin Hybrids (Lavandula x intermedia)
Slightly less hardy, but manageable with care.
Avoid planting French or Spanish Lavender in pots if you live in colder regions. They’re not frost lovers and often fail to overwinter outdoors.
Step 2: Pick the Right Pot
The container you choose matters—a lot.
Ideal Pot Qualities:
- Material: Thick terracotta or wood insulates better than thin plastic.
- Size: Bigger is better. A larger soil mass stays warmer longer.
- Drainage: Absolutely essential. Lavender hates soggy roots.
Pro tip: Elevate the pot with bricks or pot feet to prevent waterlogging and frozen drainage holes.
Step 3: Prune—but Not Too Late
Lavender needs a gentle haircut before winter.
When to Prune:
- Late summer to early fall (ideally by mid-September)
How Much to Cut:
- Remove spent flower spikes and lightly trim the top 1/3 of growth.
- Avoid cutting into old, woody stems—it may not recover.
Pruning encourages compact growth and prevents wind damage in winter. But prune too late, and you’ll stress the plant before it’s ready for dormancy.
Step 4: Clean Up the Soil Surface
Remove any fallen leaves, mulch, or debris that could trap moisture around the crown of the plant. Lavender likes airflow. Trapped moisture leads to rot—and rot is the silent killer of overwintering plants.
Step 5: Choose Your Overwintering Method
Option A: Leave It Outside (With Protection)
If you’re in zones 5–8, and your variety is cold-hardy, you can keep your lavender outdoors with some shielding.
Outdoor Protection Checklist:
- Move the pot to a south-facing wall for warmth and shelter.
- Wrap the pot in burlap, bubble wrap, or insulation fabric.
- Add straw or pine mulch around the base (but not directly against the stems).
- Shield from strong wind—lavender hates icy drafts.
Option B: Bring It Indoors
Live in zones below 5 or experience long deep freezes? Bring your plant inside.
Indoor Lavender Overwintering Tips:
- Keep in a cool, bright room (40–60°F is perfect).
- Use a south-facing window or supplement with grow lights.
- Do not overwater! Let the soil dry between light waterings.
- Don’t fertilize during winter dormancy.
Bonus Tip: Lavender indoors doesn’t love dry indoor air. If the leaves look crispy, try a humidifier nearby or occasional misting—without soaking the plant.
Step 6: What NOT to Do
5 Common Lavender-Killing Mistakes:
- Leaving it waterlogged – Lavender roots rot easily in cold, wet soil.
- Using a small, thin pot – Offers no protection from temperature swings.
- Over-fertilizing before winter – Encourages tender new growth that frost can kill.
- Bringing it into a hot, dry house – That’s not dormancy—it’s plant torture.
- Skipping insulation – Cold wind + unprotected roots = dead lavender.
Step 7: The “Scratch Test” (Come Spring)
Wondering if your lavender made it?
Here’s how to tell:
- Scratch a small section of the stem with your fingernail.
- If it’s green underneath, it’s alive!
- If it’s brown and dry, that stem is dead—but check the base. Lavender often regrows from lower wood in spring.
Be patient—lavender can be slow to wake up in early spring.
Spring Wake-Up Plan
When warmer days return:
- Gradually reintroduce your pot to the outdoors (acclimate slowly).
- Begin watering more regularly.
- Add a light dose of organic fertilizer in mid-spring.
- Prune lightly to shape once growth resumes.
With a little TLC, your lavender will bounce back bushier, brighter, and even more fragrant.
Final Thoughts: Is It Worth Overwintering Lavender in Pots?
Absolutely. It might take a bit of effort, but the rewards are worth it.
You’ll:
- Save money by not replanting every year
- Grow larger, more productive lavender plants
- Enjoy the sweet scent and pollinator buzz come spring
Plus, let’s be honest—it feels good to beat winter at its own game.
Quick Recap: Lavender Overwintering Survival Checklist
Identify your lavender type
Use a large, insulated, well-draining pot
Prune gently in early fall
Clean up soil surface
Choose outdoor or indoor protection based on your zone
Avoid overwatering and fertilizer during dormancy
Check for life in spring with the scratch test