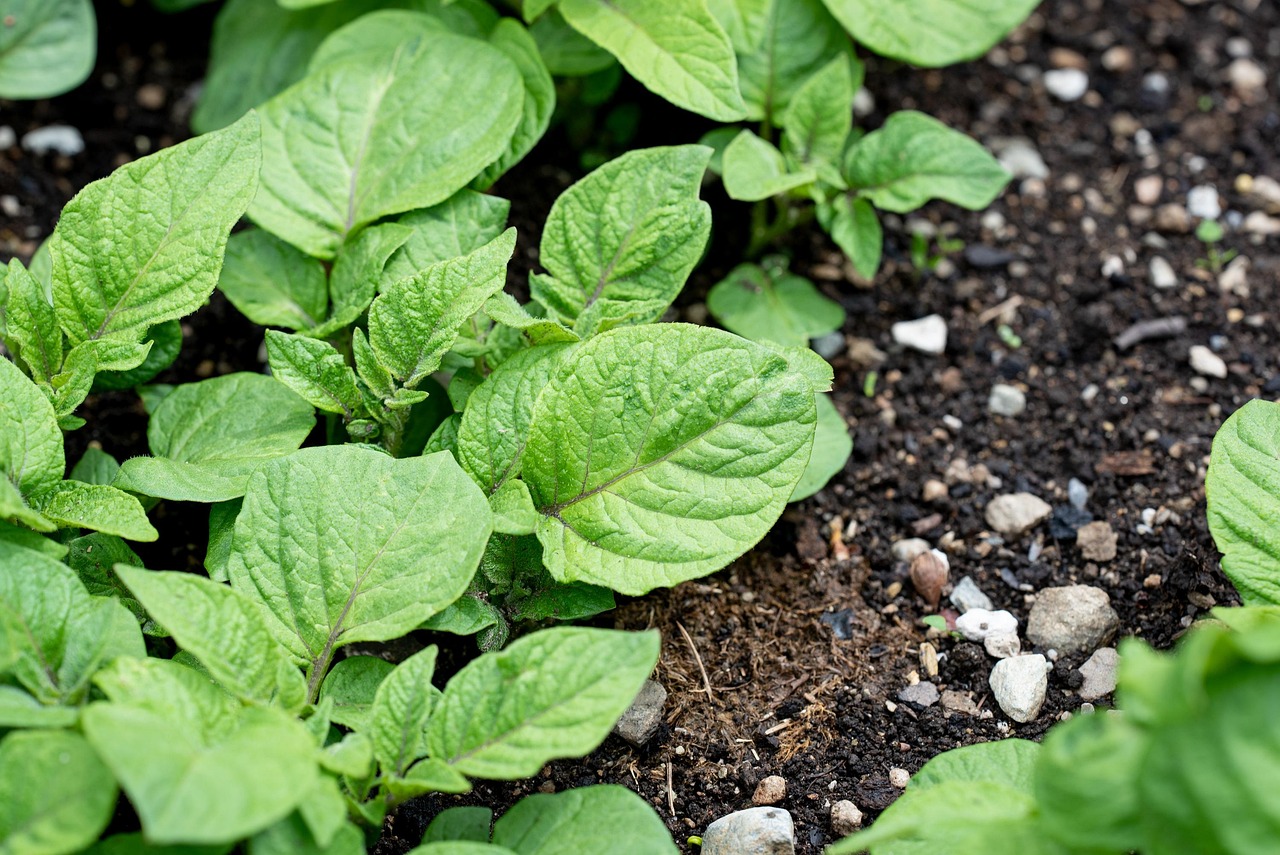
If you’ve grown potatoes this season, you might be wondering — is it possible to keep some of them safe through winter so you can plant them again next year?
The answer is yes, but overwintering potatoes isn’t as simple as tossing them in a sack and hoping for the best.
Without the right care, stored potatoes can shrivel, sprout too soon, or rot away before spring. The goal is to create a winter “resting phase” where your potatoes stay dormant, disease-free, and ready to burst into life when planting season arrives.
Let’s walk through how to do exactly that.

Why Overwinter Potatoes Instead of Buying New Seed?
It might seem easier to just purchase new seed potatoes in spring, but overwintering your own has its advantages:
- Cost Savings – You’re using what you’ve already grown instead of paying for fresh seed stock.
- Variety Preservation – If you’ve grown a rare or heirloom potato, storing your own ensures you can keep that strain going.
- Better Adaptation – Potatoes grown in your soil may adapt to your local conditions over time, producing stronger plants in the future.
- Satisfaction – There’s something deeply rewarding about starting next year’s crop from your own saved tubers.
Step 1: Choosing the Right Potatoes for Overwintering
Not every potato from your harvest is worth keeping for seed. Selection is the first and most important step.
Look for These Qualities:
- Medium Size – Too small and they’ll produce weak plants; too large and they may rot more easily.
- Unblemished Skin – No cuts, bruises, or signs of disease.
- Firm Texture – Soft potatoes won’t last the winter.
- Late-Maturing Varieties – Generally store longer than early types.
Tip: Avoid keeping any potatoes that were damaged during harvest — even small wounds can invite rot during storage.
Step 2: Curing for Long-Term Storage
Freshly dug potatoes aren’t ready for storage right away. They need a short “curing” period to toughen their skins and heal minor scrapes.
How to Cure Potatoes:
- Brush Off Dirt – Don’t wash them; excess moisture encourages rot.
- Lay Them Out – Spread in a single layer in a cool, dark, and well-ventilated space.
- Maintain Conditions – Aim for 50–60°F (10–15°C) with 85–90% humidity.
- Wait 10–14 Days – This allows skins to harden, making them more resistant to decay.
Once cured, your potatoes are ready for their winter rest.
Step 3: Preparing the Storage Area
Overwintering potatoes successfully comes down to stable, cool, and dark conditions.
Ideal Storage Conditions:
- Temperature: 35–40°F (1–4°C) — cold enough to keep dormancy, but not freezing.
- Humidity: Around 85–90% to prevent shriveling.
- Darkness: Light exposure can cause greening and produce toxic solanine.
Good storage spots include a root cellar, unheated basement, insulated shed, or even a cool garage — as long as temperatures don’t drop below freezing.
Step 4: Packing Your Potatoes for Winter
Even in the perfect environment, how you pack potatoes affects their survival.
Best Packing Methods:
- Paper Bags or Cardboard Boxes – Allow air circulation and block light.
- Wooden Crates – Great for larger harvests, especially if lined with newspaper.
- Layered in Straw or Sawdust – Cushions tubers and absorbs excess moisture.
Avoid plastic bags — they trap moisture and speed up decay.
Step 5: Monitoring Through the Cold Months
Potatoes aren’t “set and forget” crops during storage. They need occasional check-ins.
What to Watch For:
- Sprouting – If shoots appear, remove them gently to prolong dormancy.
- Rot or Mold – Remove affected potatoes immediately before it spreads.
- Shriveling – Increase humidity slightly if potatoes begin to wrinkle.
A quick inspection every two to three weeks can make the difference between success and disappointment.
Step 6: Pre-Spring Preparation
About two to four weeks before planting, it’s time to wake your potatoes up.
Chitting (Pre-Sprouting)
Place your stored seed potatoes in a bright, cool location (around 60°F / 15°C) to encourage short, sturdy sprouts. This gives them a head start for faster growth once planted.
Common Mistakes to Avoid When Overwintering Potatoes
Even experienced gardeners can make slip-ups. Here are the big ones to steer clear of:
- Washing Potatoes Before Storage – Moisture encourages rot.
- Using Damaged Tubers – Even small cuts invite disease.
- Storing Near Fruits – Apples and other ripening produce release ethylene gas, which speeds sprouting.
- Too Warm or Too Cold – Temperatures outside the ideal range shorten storage life.
- Ignoring Storage Checks – Problems can spread quickly if left unnoticed.
Can You Leave Potatoes in the Ground Over Winter
This depends heavily on your climate.
- Mild Climates (No Hard Frost) – Potatoes can often be left in the soil, covered with a thick mulch layer for insulation.
- Cold Climates (Freezing Ground) – Tubers will likely freeze and rot if left in place. Dig them up for indoor storage instead.
If you do try in-ground overwintering, be prepared for possible losses.
Bonus: Overwintering for Continuous Harvest
Some gardeners intentionally stagger planting and overwinter storage to enjoy fresh potatoes for most of the year.
The trick? Keep part of your harvest in cold storage for planting and plant others late in the season so they’re ready just before frost.
