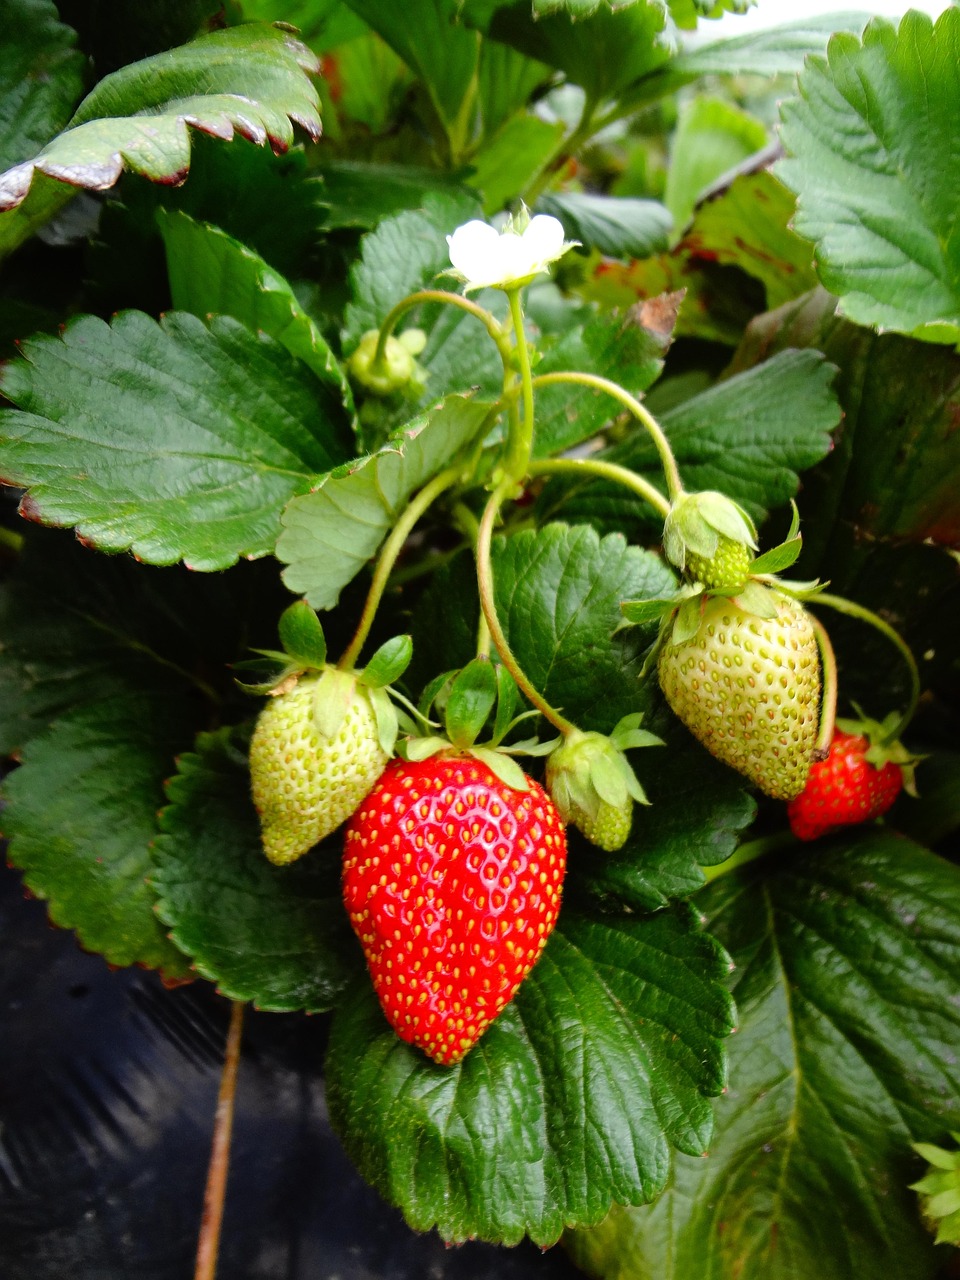
There’s nothing quite like biting into a juicy, sun-warmed strawberry you’ve grown yourself. But for gardeners in colder climates, the challenge is keeping those plants alive and healthy through the harsh winter months. The good news? Strawberries are surprisingly resilient if you give them the right care before the frost hits.
Overwintering isn’t just about survival — it’s about setting your plants up for an explosive fruiting season next spring. With the right steps, you can protect your strawberries from freezing temperatures, disease, and damage, so they emerge in spring ready to produce bigger, sweeter berries than ever before.
So, how exactly do you protect strawberry plants from winter’s icy grip? Let’s dive into the step-by-step process.
Understanding Your Strawberry Plants Before Winter
Before you start covering, mulching, or moving your plants, it’s important to know what type of strawberries you’re growing — because their overwintering needs can vary.
1. June-Bearing Strawberries
- Produce one large crop in late spring to early summer.
- Go dormant after the growing season, which makes them easier to protect over winter.
2. Everbearing Strawberries
- Produce two to three smaller crops throughout the growing season.
- Often need a bit more energy management before winter to prevent stress.
3. Day-Neutral Strawberries
- Fruit continuously until frost.
- Tend to be more sensitive to cold, so protection is crucial.
Tip: Identify your variety before deciding on the exact overwintering method. This ensures you’re not under- or overprotecting them.
Why Overwintering Matters
You might think, “Aren’t strawberries hardy enough to survive on their own?” The truth is, without protection, winter can do serious damage. Here’s why overwintering is worth the effort:
- Prevents crown damage: The crown is the heart of the plant. Once it’s damaged by frost, recovery is slow or impossible.
- Protects roots: Frozen soil can kill fine feeder roots essential for spring growth.
- Encourages early fruiting: Healthy, well-protected plants wake up faster in spring.
- Reduces disease risk: Proper winter prep helps prevent rot and mold in wet, cold conditions.
Step-by-Step: How to Overwinter Strawberry Plants
Step 1: Stop Fertilizing at the Right Time
In late summer to early fall, stop feeding your strawberries with high-nitrogen fertilizer. Why? Because you want them to slow down growth and prepare for dormancy, not push out tender new leaves that will be damaged by frost
Step 2: Clean Up the Beds
Remove weeds, fallen leaves, and old mulch from around the plants. This not only makes room for fresh protective mulch but also removes hiding spots for pests and diseases.
Step 3: Trim and Thin Your Plants
- Remove dead leaves to reduce disease risk.
- Thin out runners so the plants can focus energy on root health, not new baby plants.
- Keep the crown intact — never cut into it.
Step 4: Apply Mulch at the Right Time
One of the biggest overwintering mistakes is mulching too early. If you cover the plants before the ground freezes, you risk creating a cozy home for rodents and fungi.
Best timing: Wait until after the first few hard frosts, when the plants have gone dormant but before the ground freezes solid.
Best materials for strawberry mulch:
- Straw: Loose and airy, perfect for insulating without suffocating plants.
- Pine needles: Excellent for acidic-loving strawberries and naturally pest-resistant.
- Shredded leaves: Use only if they’re dry and not prone to matting.
How to mulch:
- Apply a 3–5 inch layer over the crowns.
- Keep it loose enough for some air circulation.
- Make sure the entire bed is covered evenly.
Step 5: Protect Potted Strawberries
If your strawberries are in containers, they need extra care because pots expose roots to freezing air from all sides.
Options for protecting potted strawberries:
- Move to an unheated garage or shed where temperatures stay just above freezing.
- Bury the pot in the ground and cover it with mulch.
- Wrap the container in burlap or bubble wrap to insulate the roots.
Step 6: Add Extra Protection for Harsh Winters
If you live in a zone with extreme cold (USDA Zone 4 or below), consider adding:
- Row covers or frost blankets for wind protection.
- Plastic tunnels to block snow and ice.
Special Considerations for Different Climates
Mild Winters
- You may not need heavy mulching, but light protection can prevent unexpected frost damage.
- Watch for root rot in overly wet conditions.
Harsh Winters
- Double-layer mulch or combine straw with row covers.
- Avoid compacting mulch, as trapped moisture can freeze and damage crowns.
Common Overwintering Mistakes to Avoid
- Mulching too early – Leads to pest infestations and mold.
- Using fresh grass clippings – They mat down, suffocate plants, and invite rot.
- Overwatering in fall – Too much moisture before freezing leads to root damage.
- Forgetting about potted plants – Containers freeze much faster than the ground.
When to Remove Winter Protection
In early spring, once danger of deep frost has passed, gradually remove mulch to allow plants to wake up. Don’t yank it all away at once — sudden exposure can shock the crowns. Instead:
- Pull mulch back from the crown but leave some around the base to protect from late frosts.
- Keep row covers handy in case of sudden temperature drops.
Boosting Spring Growth After Overwintering
Once your plants are free from their winter blanket, it’s time to kick-start growth:
- Fertilize lightly with a balanced formula.
- Water deeply but avoid waterlogging.
- Remove any dead leaves that appear as the plant wakes up.
- Thin crowded plants to give each one space to breathe and grow.