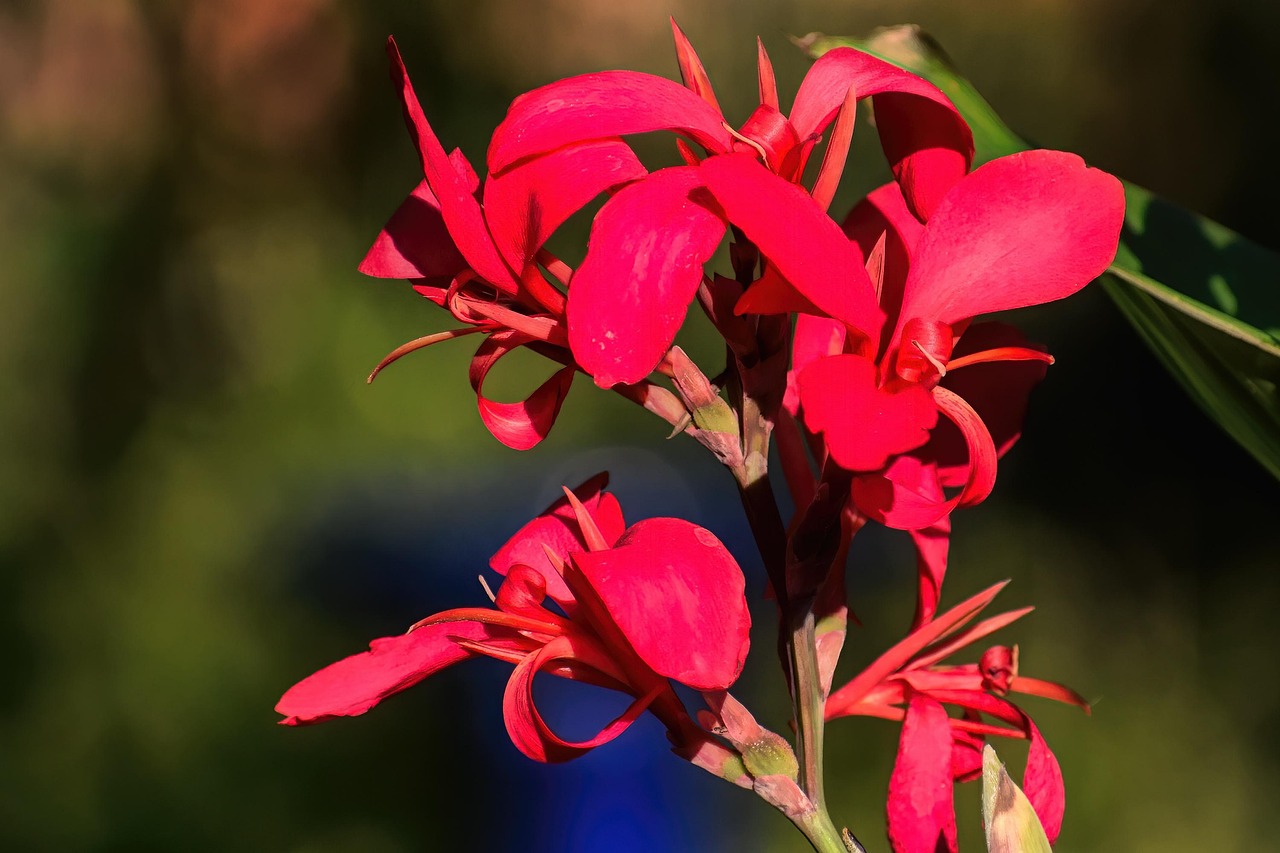
Close your eyes and picture your garden in full summer swing: canna lilies standing tall, their bold blooms in fiery reds, sunny yellows, and deep oranges practically glowing under the sun. These tropical showstoppers are the life of the party, but when winter’s icy fingers start creeping in, they need a little love to survive the cold. Overwintering canna bulbs is like giving your favorite plants a warm blanket and a promise of next year’s encore. It’s not just about saving bulbs—it’s about keeping the magic of your garden alive through the frost. Whether you’re a green thumb or a newbie with a trowel, this guide will walk you through every step to dig, clean, and store your canna bulbs with confidence, ensuring they’re ready to steal the show again come spring.
Why Save Your Canna Bulbs?
Canna lilies, with their lush foliage and vibrant flowers, aren’t built for chilly winters. In colder regions (USDA zones 7 and below), leaving them in the ground is a recipe for frozen, ruined bulbs. Overwintering is your chance to protect these tropical beauties, keeping them healthy for another season while saving some cash in the process.
Benefits of Doing It Right
- Stronger Plants: Healthy bulbs mean more vigorous growth and bigger blooms.
- Money-Saver: Reuse your bulbs instead of buying new ones each year.
- Eco-Friendly Vibes: Reduce waste by keeping your plants alive.
- Winter Confidence: No stress about losing your garden stars to frost.
When’s the Best Time to Dig?
Timing is critical to get this right. Dig up your canna bulbs after the first light frost or when the leaves naturally turn yellow and droop in late fall. This is when the plant has packed enough energy into its rhizomes (the bulb-like parts) to go dormant.
How Do You Know It’s Go Time?
- Frost Watch: A light frost signals dormancy, but avoid waiting for a hard freeze.
- Leaf Check: Yellow or browning foliage means the plant’s ready to rest.
- Zone Matters: In zones 8-10, you might leave bulbs in with mulch; zones 7 and below require digging.
Your Guide to Overwintering Canna Bulbs
Overwintering is a simple four-step process: dig, clean, dry, and store. Each step is key to keeping your bulbs healthy and ready for spring. Think of it as tucking your plants in for a long, cozy nap.
Step 1: Digging Up the Bulbs
Handle the rhizomes gently—they’re the plant’s lifeline for next season.
- Gear Up: Use a garden fork or spade; a trowel works for smaller clumps.
- Trim Back: Cut stems to 4-6 inches to make digging easier.
- Dig Carefully: Start 6-8 inches from the base to avoid cutting the bulbs.
- Lift the Clump: Gently pull up the bulbs and shake off excess soil.
- Check for Damage: Toss any bulbs that feel mushy or look rotten.
Step 2: Cleaning the Bulbs
A thorough clean keeps dirt and pests at bay.
- Rinse Gently: Wash off soil with a light stream of water, avoiding over-soaking.
- Snip Dead Bits: Trim off dead roots and foliage, keeping only healthy rhizomes.
- Inspect for Pests: Look for bugs or fungal growth and discard any bad bulbs.
Step 3: Drying the Bulbs
Proper drying is your shield against mold and rot.
- Air Dry: Lay bulbs in a shaded, airy spot for 2-3 days.
- No Shortcuts: Avoid ovens or heaters, which can dehydrate bulbs too fast.
- Rotate Them: Turn bulbs occasionally to dry evenly.
Step 4: Prepping for Storage
Get those bulbs ready for their winter snooze.
- Divide if Needed: Break large clumps into smaller sections, ensuring each has a growth point (eye).
- Label Clearly: Tag varieties to avoid mix-ups when planting.
- Fungicide Option: Dust with fungicide powder for extra mold protection (optional but smart).
Step 5: Storing the Bulbs
Good storage conditions keep bulbs viable until spring.
- Pick a Container: Use breathable options like paper bags, mesh bags, or cardboard boxes.
- Pack with Care: Surround bulbs with peat moss, vermiculite, or sawdust for slight humidity.
- Store Smart: Keep in a cool (40-50°F or 4-10°C), dark, dry spot like a basement or garage.
- Check In: Every 4-6 weeks, inspect for mold, rot, or shriveling, and remove any problem bulbs.
Pro Tips for Success
- Give Space: Don’t pack bulbs tightly; airflow prevents rot.
- Watch Humidity: Too wet leads to mold; too dry causes shriveling.
- Spring Check: Firm bulbs are good; soft ones may not sprout.
- Wake Them Up: A month before planting, move bulbs to 50-60°F to encourage sprouting.
Common Pitfalls to Avoid
- Digging Too Early: Harvesting before dormancy weakens bulbs.
- Storing Wet Bulbs: Damp bulbs rot; ensure they’re fully dry.
- Bad Storage Spots: Too warm, and bulbs sprout; too cold, and they freeze.
- Forgetting to Check: Skipping inspections risks losing bulbs to pests or mold.
Replanting in Spring
When spring arrives, it’s time to bring your cannas back to life. Wait until the soil warms to at least 60°F, typically after the last frost.
How Do You Replant?
- Soak First: Dip bulbs in lukewarm water for a few hours to rehydrate.
- Find a Sunny Spot: Cannas love full sun and rich, well-drained soil.
- Plant Correctly: Bury bulbs 4-6 inches deep, eyes up, spaced 12-18 inches apart.
- Water Well: Give them a good drink to kick off growth.
Troubleshooting Common Problems
- Rot in Storage: Use breathable containers and ensure bulbs are dry.
- Mold Growth: Improve ventilation and check for excess moisture.
- No Sprouts: Squeeze bulbs gently; viable ones feel firm.
- Pest Issues: Store in pest-proof areas and check regularly.