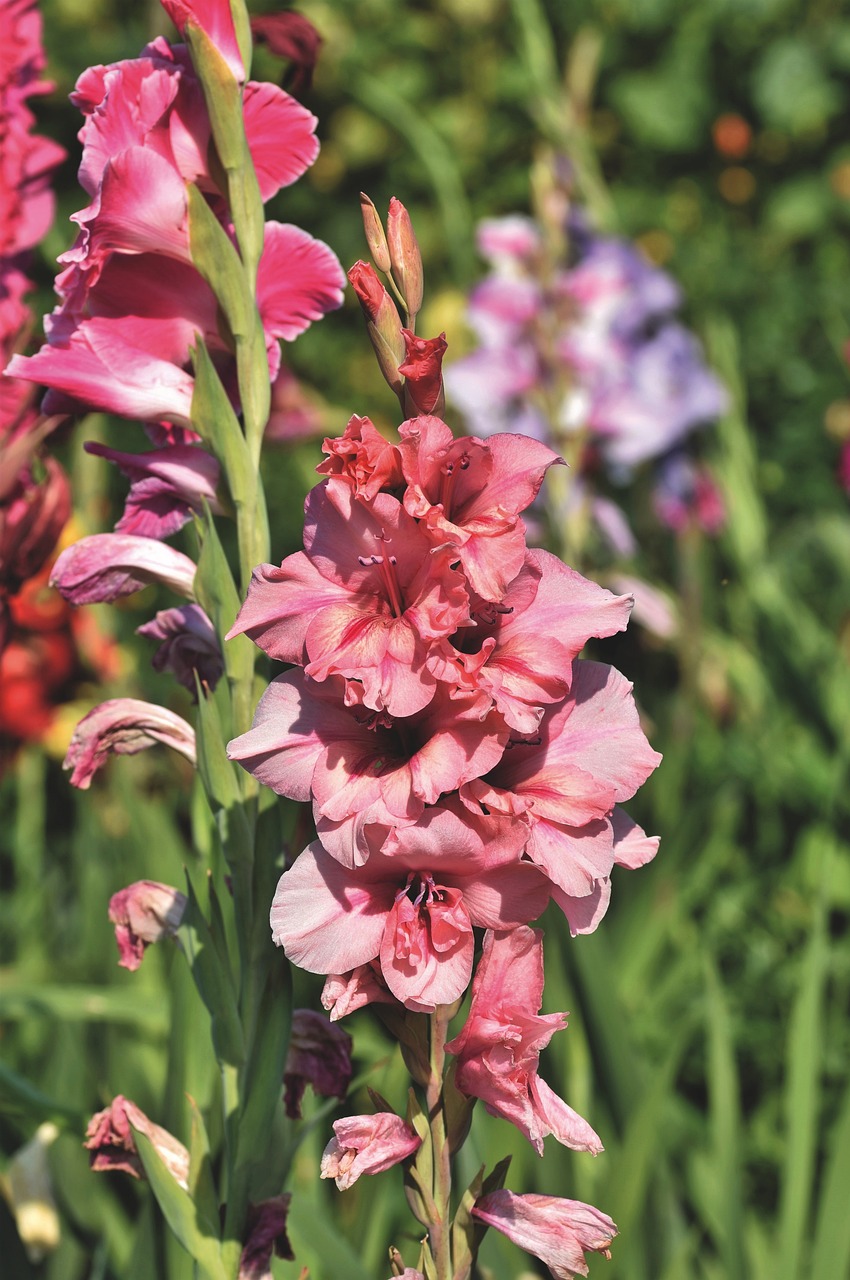
Gladiolus flowers are like fireworks for your summer garden—tall, vibrant, and bursting with color. But if you live in a region where winter frost bites hard, leaving your bulbs in the ground could mean saying goodbye to them for good.
The good news? With the right overwintering method, your gladiolus bulbs (technically called corms) can survive the cold and come back bigger, healthier, and even more stunning next season.
This guide walks you through the exact steps—digging, cleaning, storing, and replanting—so you never have to buy new bulbs every year.

Why Do Gladiolus Bulbs Need Overwintering?
Gladiolus are not frost-hardy. Once the temperature dips below freezing, their delicate corms can rot, shrivel, or die entirely if left unprotected in the soil.
In warmer zones (USDA 8 and above), you can get away with leaving them in the ground, but in colder areas, proper overwintering is non-negotiable if you want your plants to thrive again.
Think of it this way: overwintering is like sending your gladiolus to a cozy winter retreat—they rest, store up energy, and return stronger in spring.
Step-by-Step Guide: How to Overwinter Gladiolus Bulbs
1. Timing Is Everything — When to Dig Them Up
You don’t want to pull the bulbs too early, or they won’t have stored enough energy for next year.
The best time is about 4–6 weeks after flowering, when the leaves have turned yellow but before the first hard frost hits.
Tip: Mark the locations of your gladiolus while they’re still in bloom so you can find them easily later.
2. Gently Lift the Bulbs
- Use a garden fork instead of a shovel to avoid slicing into the corms.
- Start digging about 6 inches away from the plant and work inward.
- Shake off excess soil but keep the foliage attached for now.
Why keep the leaves? They help the corms finish drawing in nutrients before storage.
3. Cure the Bulbs Before Storing
Freshly dug gladiolus bulbs are full of moisture—storing them right away can lead to mold.
Instead, cure them:
- Lay the plants (with leaves still on) in a warm, airy spot out of direct sunlight for about 2–3 weeks.
- Ideal curing temperature: 70–80°F (21–27°C).
- Once dried, cut off the foliage about an inch above the corm.
You’ll notice small baby corms (cormels) attached—these can be saved and grown into flowering plants over the next 2–3 years.
4. Clean and Inspect for Damage
Before storing:
- Brush off any remaining soil (don’t wash them—it adds moisture).
- Discard any bulbs that are mushy, discolored, or have signs of disease.
- Separate the old, shriveled base corm (from last year) from the new healthy corm.
5. Choose the Right Storage Method
Gladiolus bulbs need cool, dry, and dark conditions to make it through winter.
Best Storage Options:
- Mesh bags or onion sacks — allow airflow and prevent mold.
- Paper bags or cardboard boxes — line with newspaper and keep bulbs from touching.
Storage Conditions:
- Temperature: 35–45°F (2–7°C) — think basement, garage, or spare fridge.
- Humidity: Low to moderate—too much moisture encourages rot.
Pro Tip: Sprinkle a little vermiculite, peat moss, or sawdust between bulbs to keep them dry.
6. Check on Them During Winter
Overwintering isn’t “set it and forget it.” Every month, inspect your bulbs:
- Remove any that show rot or mold.
- If they’re shriveling, the air might be too dry—lightly mist the storage medium (never the bulbs directly).
7. Replant in Spring for Bigger, Brighter Blooms
Once the soil warms to around 55°F (13°C) in spring, it’s time to wake your gladiolus up.
- Plant corms 4 inches deep and 6 inches apart in well-draining soil.
- For season-long color, stagger plantings every two weeks until midsummer.
Special Tips for Even Bigger and Brighter Gladiolus
Feed Them Well
Before planting, mix compost or a balanced bulb fertilizer into the soil. Gladiolus love rich, well-fed ground.
Stagger Your Digging
If you have a large bed, dig and store your corms in batches over several days. This ensures each plant reaches peak energy storage before dormancy.
Label Your Colors
If you grow multiple varieties, label each group when storing. This makes designing next year’s garden much easier.
Save the Cormels
The tiny baby corms may take a couple of years to bloom, but they’re free plants waiting to happen.
Common Mistakes to Avoid When Overwintering Gladiolus
- Storing Too Damp — Moisture is the enemy; it leads to rot.
- Not Curing Long Enough — Skipping the drying phase is a fast track to mold.
- Leaving Damaged Bulbs in Storage — One rotten corm can ruin the whole batch.
- Forgetting to Check During Winter — Problems spread if left unnoticed.
- Planting Too Early in Spring — Cold, wet soil can cause bulbs to rot before they grow.
Overwintering in Warmer Climates — Do You Need to Dig at All?
If you’re lucky enough to live in USDA Zone 8 or above, you can leave your gladiolus in the ground year-round.
However:
- Mulch heavily in late fall to protect against unexpected frosts.
- Divide and replant every 2–3 years to prevent overcrowding.
Frequently Asked Questions
Q: Can I overwinter gladiolus in pots?
Yes. Simply move the pots to a frost-free area like a garage or basement and stop watering until spring.
Q: Do I need to remove the cormels before storage?
It’s best to separate them so they don’t drain energy from the main corm during storage.
Q: How long do gladiolus bulbs last in storage?
If kept under ideal conditions, they can last up to a year, but replanting annually keeps them at peak performance.
