Sage is more than just an herb—it’s the aromatic heart of holiday stuffing, the earthy note in roasted vegetables, and the calming scent in herbal teas. If you’ve spent the growing season nurturing your sage plant, the last thing you want is to watch it shrivel under the frost and lose its vibrant green hue.
The good news? Sage is a hardy perennial in many climates, but even the toughest varieties can suffer if winter temperatures are harsh. Learning how to overwinter sage without losing its flavor or color means you can keep enjoying its rich taste and beauty well into the next growing season.
So, how do you protect sage through winter without compromising its natural oils or turning it into a dull, lifeless plant? Let’s break it down step by step.
Understanding Sage’s Winter Needs
Why Protect Sage at All?
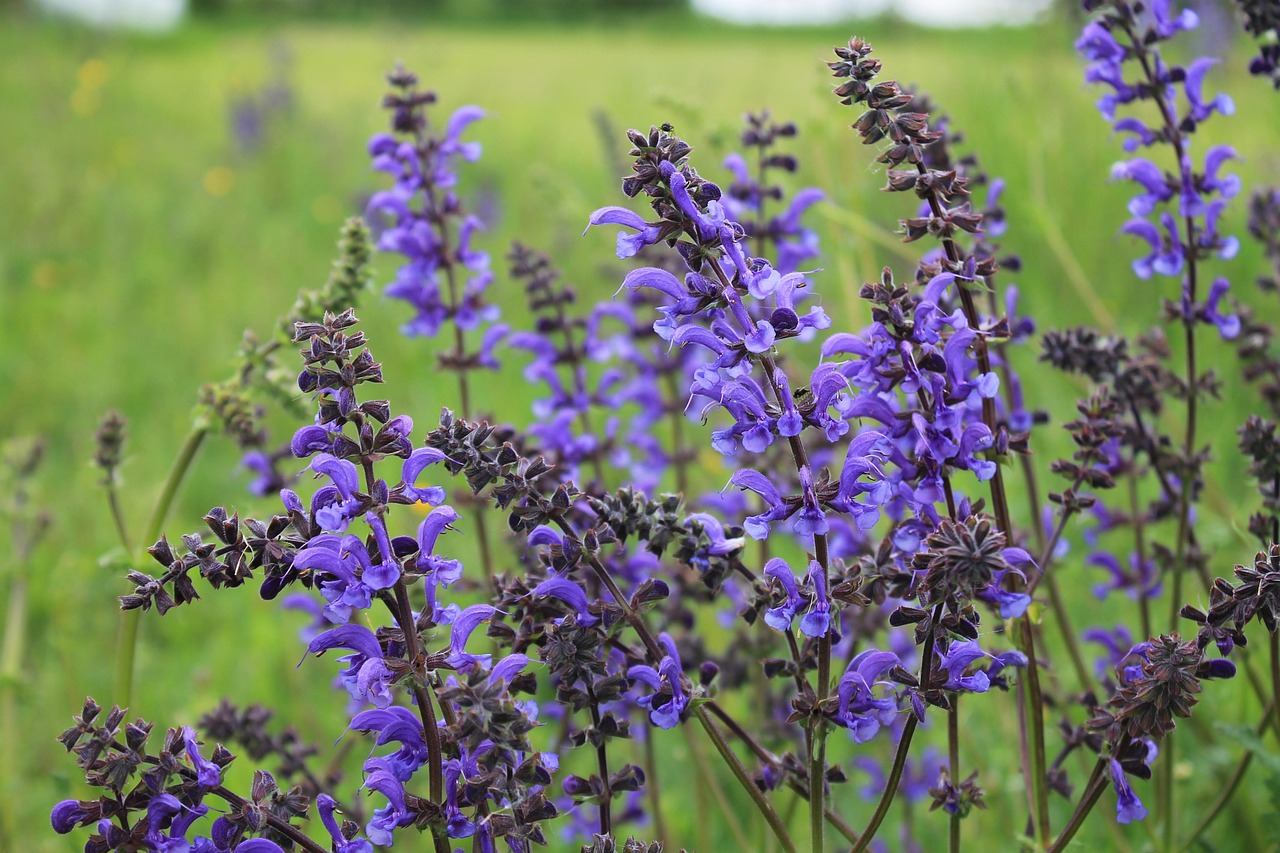
Sage (Salvia officinalis) can survive mild winters, but when frost, snow, and fluctuating temperatures hit, the plant can experience stress. This stress can:
- Reduce its essential oil content, which gives sage its signature aroma and taste
- Cause leaf discoloration, leading to a pale or brown appearance
- Damage roots, especially if soil stays waterlogged and freezes
Knowing your USDA hardiness zone is the first step—if you’re in zones 5–8, you have a good shot at keeping sage outdoors with some protection. In colder areas, overwintering indoors is often the safer route.
Step 1: Decide Between Indoor and Outdoor Overwintering
Option 1: Outdoor Overwintering
If your winters are relatively mild, sage can overwinter outside with some strategic care:
- Mulching Matters – Apply a 3–4 inch layer of straw, shredded leaves, or pine needles around the base. This keeps soil temperature stable and prevents freeze-thaw cycles from damaging the roots.
- Trim Gently – Avoid a heavy prune in late fall; instead, remove dead or weak stems while keeping healthy growth intact. Too much cutting can stress the plant before winter.
- Wind Protection – Harsh winter winds can dry out sage leaves. Consider placing burlap or frost cloth around the plant to shield it without cutting off airflow.
Option 2: Indoor Overwintering
In harsher climates, bring sage indoors before the first frost:
- Dig and Pot – Gently dig around the root ball, keeping as much soil intact as possible. Transfer to a pot with well-draining soil.
- Sunlight is Key – Place your sage in a south-facing window for at least 6–8 hours of light daily. If natural light is scarce, supplement with a grow light.
- Avoid Overwatering – Sage dislikes wet feet, especially in winter. Water only when the top inch of soil feels dry.
Step 2: Pruning for Winter Health
Pruning helps keep your plant compact and healthy, but it must be done at the right time to avoid flavor loss.
- Late Summer/Early Fall Trim – Lightly trim back long stems by about one-third to prevent snow damage.
- Avoid Cutting Into Old Wood – Sage can be slow to regrow from old stems, so stick to green, leafy growth.
- Remove Diseased Leaves – This prevents mold or fungus from spreading in damp winter conditions.
Step 3: Managing Light and Temperature Indoors
If you’ve brought your sage inside:
- Keep temperatures between 60–70°F during the day and slightly cooler at night for healthy growth.
- Place near a bright, sunny window—ideally south-facing.
- Rotate the pot every week so the plant grows evenly and maintains a lush green color.
Pro Tip: Lower light can make sage leaves pale. A small LED grow light can keep them bright and flavorful all winter.
Step 4: Watering and Humidity
Sage’s flavor comes from its concentrated essential oils, which can be diluted if the plant gets too much water in winter.
- Water Sparingly – Let the topsoil dry before watering again. Overwatering risks root rot, especially indoors.
- Reduce Humidity – Unlike tropical herbs, sage prefers drier air. If your indoor air is humid, ensure proper ventilation.
Step 5: Preserving Flavor and Color
Even with perfect overwintering conditions, winter can stress sage. Here’s how to keep leaves green and aromatic:
For Outdoor Plants:
- Apply mulch but leave a small gap around the stem to prevent rot.
- Protect from direct snow buildup by loosely covering with burlap.
- Avoid applying nitrogen-rich fertilizer in late fall—it can encourage tender growth that dies quickly in frost.
For Indoor Plants:
- Pinch off flowers if they appear—flowering can drain energy from leaf production.
- Use a balanced, diluted fertilizer once a month to maintain healthy leaves.
- Harvest sparingly; never remove more than one-third of the plant at once.
Step 6: Harvesting Through Winter
One of the best perks of overwintering sage is that you can still enjoy fresh leaves in your cooking.
- Outdoor Sage – Snip leaves during mild spells when the plant isn’t frozen.
- Indoor Sage – Harvest as needed, but give the plant time to recover between cuttings.
Fresh sage can be added to roasts, soups, and even winter teas for an immune-boosting kick.
Step 7: Reviving Sage in Spring
Once the risk of frost has passed, it’s time to transition your sage back to full outdoor life:
- Harden Off – Gradually reintroduce your indoor sage to outdoor sunlight by placing it outside for a few hours each day, increasing time over 7–10 days.
- Spring Prune – Trim away any winter damage to encourage fresh, bushy growth.
- Feed and Mulch – Apply compost or an organic herb fertilizer to fuel the growing season.
Common Mistakes to Avoid When Overwintering Sage
- Overwatering in Cold Months – Leads to root rot and flavor loss.
- Heavy Pruning Before Frost – Weakens the plant’s ability to survive winter.
- No Frost Protection Outdoors – Even hardy sage can suffer leaf burn without a barrier.
- Lack of Light Indoors – Results in pale, flavorless leaves.
Frequently Asked Questions
Can I grow sage indoors year-round?
Yes! With adequate light and well-draining soil, sage can thrive indoors all year.
Does sage die back in winter?
In colder zones, sage may go dormant, appearing brown and lifeless. Don’t panic—new growth often returns in spring.
What’s the best mulch for sage?
Straw, shredded leaves, and pine needles are excellent options. Avoid heavy, wet mulches like compost in winter
Final Thoughts
Knowing how to overwinter sage without losing its flavor or color is about striking the right balance—protecting it from cold damage without smothering its natural resilience. Whether you’re keeping it cozy indoors or tucking it under a warm mulch blanket outside, the reward is worth it: fresh, aromatic leaves ready to brighten