Imagine walking into your kitchen, reaching toward your windowsill, and snipping a handful of fresh basil to sprinkle over pasta. Or maybe you pluck a few mint leaves for your morning tea. An indoor herb garden doesn’t just add flavor to your meals—it also infuses your home with greenery, fragrance, and a sense of calm.
But here’s the real question: How do you start an indoor herb garden that actually thrives—not just survives? Too often, people get excited, plant a few herbs, and then end up with wilted leaves and lifeless pots. The secret lies in knowing the right setup, choosing the right herbs, and caring for them in a way that works indoors.
In this guide, you’ll learn step-by-step how to start an indoor herb garden that thrives, even if you’ve never grown a single plant before.
Why Grow Herbs Indoors?
Before diving into the “how,” let’s understand the “why.”
- Fresh flavor anytime: No more wilted grocery-store herbs that go bad in two days.
- Cost savings: A one-time investment in soil, pots, and seeds gives you months of fresh herbs.
- Convenience: Snip basil, parsley, or thyme without stepping outside.
- Therapeutic benefits: Tending plants reduces stress and adds a touch of nature to your home.
So the question becomes: with all these benefits, why wouldn’t you start one?
Step 1: Choose the Right Location
Herbs are sun lovers. Indoors, this becomes the biggest challenge.
How Much Light Do Herbs Need?
Most herbs need 6–8 hours of sunlight per day. Without it, they grow spindly and weak.
Best Spots for Your Herb Garden
- South-facing windows (they get the most sunlight).
- East or west-facing windows for moderate light.
- If natural light is limited, consider LED grow lights—they’re affordable and mimic sunlight.
💡 Pro Tip: Rotate pots every few days so each side of the plant gets light evenly.
Step 2: Select the Right Herbs
Not all herbs are equally suited for indoor conditions. So, which ones grow best indoors?
Beginner-Friendly Herbs
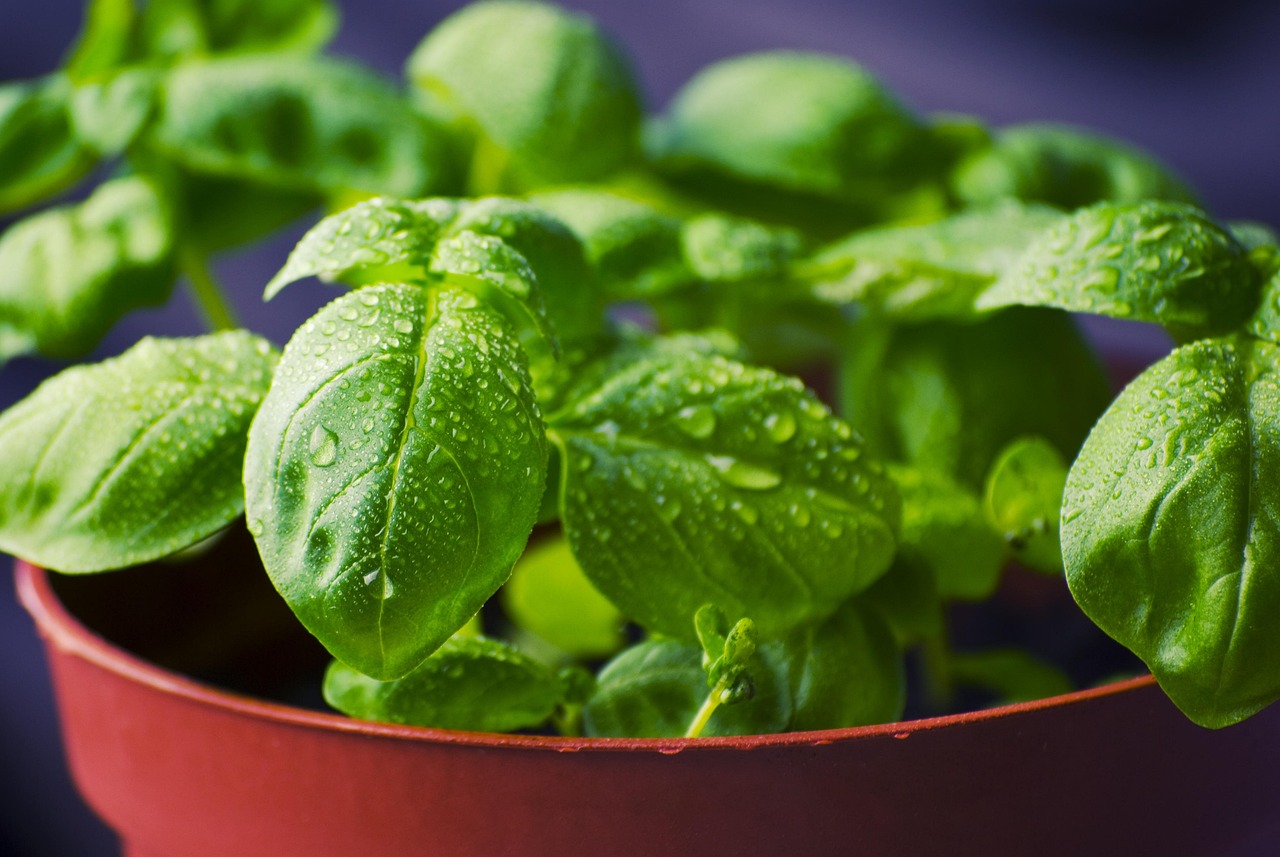
- Basil: Fast-growing, perfect for pasta, soups, and salads.
- Mint: Hardy, fragrant, and spreads quickly.
- Chives: Low-maintenance and ideal for eggs or dips.
- Parsley: Versatile and adds freshness to countless dishes.
- Thyme: Compact, flavorful, and easy to grow indoors.
Herbs That Need More Care
- Cilantro: Loves cooler temperatures but bolts quickly indoors.
- Rosemary: Gorgeous but sensitive to overwatering.
When asking yourself “Which herbs should I start with?”—the answer depends on your cooking style and the space you have.
Step 3: Pick the Right Containers
Did you know the type of pot you use could decide the fate of your herbs?
What Makes a Good Container?
- Drainage holes: Absolutely essential. Herbs hate soggy soil.
- Size: Small pots work at first, but herbs thrive in containers that are 6–12 inches deep.
- Material: Clay pots breathe better but dry out faster; plastic pots retain moisture longer.
Should You Plant Herbs Together or Separately?
- Together: Saves space and looks attractive—but only if the herbs have similar needs.
- Separately: Allows more control, especially if one herb is thirstier than the others.
Step 4: Use the Right Soil
Regular garden soil won’t cut it indoors. Why? Because it compacts easily and suffocates roots.
The Best Soil Mix for Indoor Herbs
- Potting mix (lightweight and airy)
- Perlite or vermiculite (improves drainage)
- Compost (for natural nutrients)
A high-quality potting mix designed for indoor plants is your best bet.
Step 5: Water Wisely
Here’s where most beginners go wrong: too much love in the form of too much water.
How Often Should You Water Herbs?
- Rule of thumb: Water when the top inch of soil feels dry.
- Avoid waterlogging—the roots will rot if left in standing water.
- Mint and basil like slightly more water, while rosemary and thyme prefer drier soil.
💡 Tip: Stick your finger into the soil. If it feels moist, wait another day.
Step 6: Feeding Your Herbs
Do indoor herbs need fertilizer? Yes—but in moderation.
The Right Way to Feed Herbs Indoors
- Use a balanced liquid fertilizer (like 10-10-10).
- Apply every 3–4 weeks.
- Dilute it to half strength—too much fertilizer can ruin flavor.
Think of it like seasoning food: a little brings out the best, but too much overwhelms the dish.
Step 7: Pruning and Harvesting
One of the most enjoyable parts of growing herbs is harvesting them. But here’s the trick: the way you harvest determines whether your plant thrives or dies early.
How to Prune Herbs Correctly
- Always cut above a leaf node (where leaves branch out).
- Never remove more than one-third of the plant at a time.
- Frequent light harvesting encourages bushier, fuller plants.
Ask yourself: are you trimming for immediate use, or for long-term growth? That choice shapes how your herb grows.
Step 8: Watch Out for Pests and Problems
Yes, even indoor plants can face trouble.
Common Issues in Indoor Herb Gardens
- Aphids or spider mites: Spray with soapy water.
- Yellowing leaves: Could be overwatering or lack of nutrients.
- Leggy growth: Your herbs need more light.
Regularly check your plants—catching issues early is the difference between saving and losing them.
Step 9: Creative Ways to Display Your Indoor Herb Garden
Growing herbs indoors isn’t just practical—it can also be decorative.
Fun Ideas to Try
- Hanging planters near the kitchen window.
- Mason jars lined up on a windowsill.
- Vertical herb walls for small spaces.
- Tiered plant stands to showcase multiple herbs in one place.
Why settle for just utility when your herb garden can double as home décor?
Step 10: Staying Consistent
The real key to how to start an indoor herb garden that thrives? Consistency. Herbs are living things. They need a little attention every day—watering, rotating, pruning, or simply checking on their health.
Think of it as a daily ritual. It takes only a few minutes, but those minutes add up to months of fresh, thriving herbs.