Begonias are the heart and soul of a vibrant garden, their bold colors and lush leaves turning heads from spring through fall. But when winter looms, these tender perennials need a little TLC to survive the chill. Overwintering isn’t just about keeping your begonias alive—it’s about setting them up for a dazzling return next season. Think of it as tucking your favorite plants in for a cozy nap, ensuring they wake up ready to steal the show. Want to know how to keep your begonias thriving year after year? Let’s dive into this rewarding journey of care and creativity.
Getting to Know Your Begonias
What’s So Special About Begonias?
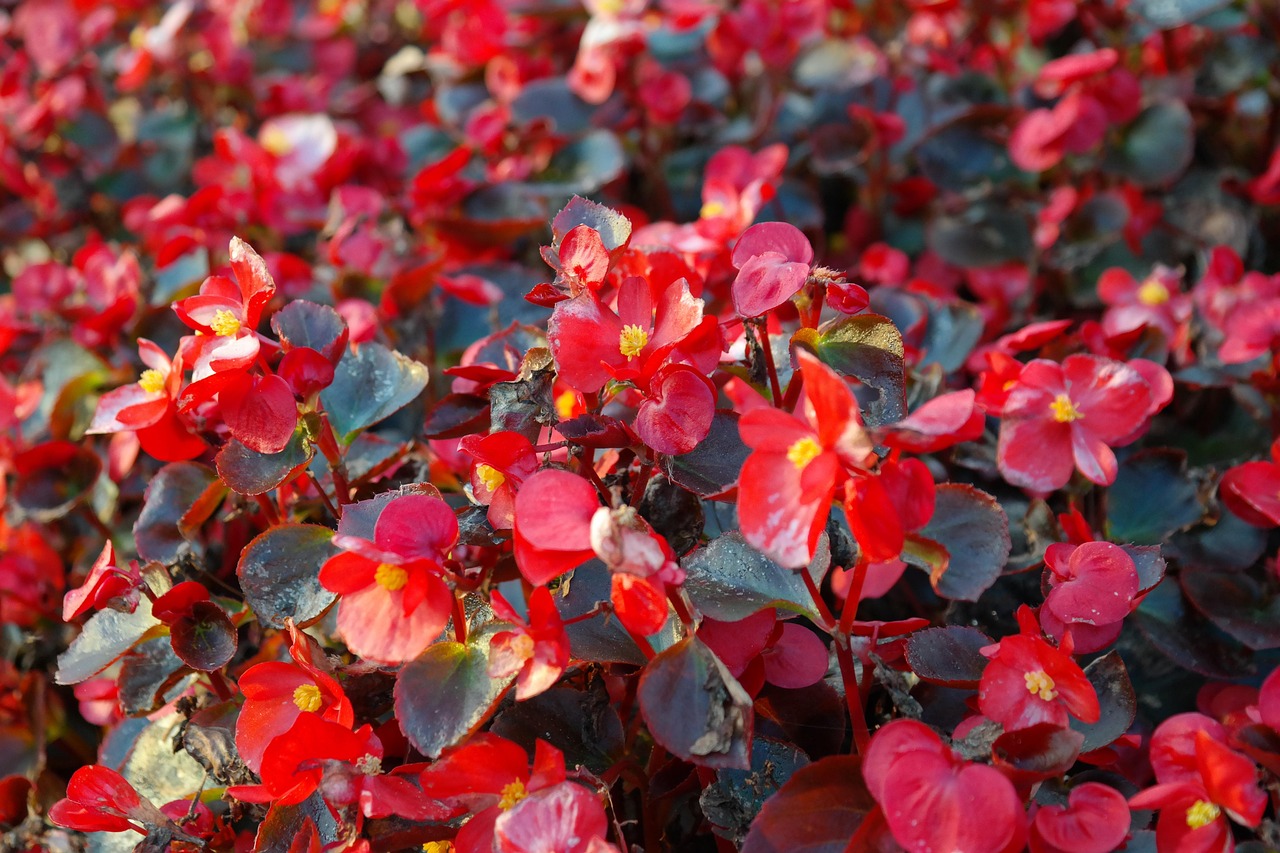
Begonias are a gardener’s dream, with varieties like tuberous, fibrous, and rhizomatous offering something for every taste. Tuberous begonias dazzle with their rose-like blooms, while fibrous types, like wax begonias, bring reliable charm to beds and borders. Rhizomatous begonias? They’re all about those show-stopping leaves. Each type has unique overwintering needs, so identifying your plant is the first step to success.
Why Bother Overwintering?
Why go the extra mile to overwinter? For starters, it saves you from buying new plants each spring—a win for your wallet. Plus, mature begonias often bloom more vibrantly than new ones, giving your garden a head start. And let’s be honest: there’s a special joy in nurturing plants through the seasons, watching them rebound with new life. Ready to learn how it’s done? Let’s get started.
Prepping Your Begonias for Their Winter Rest
Timing It Right
When’s the best time to start overwintering? Keep an eye on the weather—late fall, before the first frost, is ideal. Look for clues like yellowing leaves or slower growth, which signal your begonias are ready to wind down. Aim to act when nighttime temperatures drop below 50°F (10°C) to keep your plants safe and sound.
Checking Plant Health
Before you dive in, give your begonias a once-over. Are they thriving, or do you see signs of trouble like pests or disease? Focus on healthy plants for overwintering, as they’re more likely to bounce back. If you spot issues—think wilting leaves or tiny bugs—prune affected areas or treat with a gentle, organic pest solution before proceeding.
Overwintering Techniques for Every Begonia Type
Tuberous Begonias: Storing the Magic
T tuberous begonias, with their lush, showy flowers, are perfect for overwintering thanks to their energy-storing tubers. Here’s how to tuck them in for winter:
- Lifting the Tubers
As foliage yellows, stop watering and let the plant die back naturally. Carefully dig up the tubers with a garden fork, avoiding nicks or cuts. Gently shake off loose soil, but skip washing to prevent moisture buildup. - Curing and Cleaning
Lay the tubers in a warm, dry spot for a few days to cure. Once they’re dry, snip off any remaining stems and brush away excess dirt. Check for soft or moldy spots, tossing any tubers that don’t look healthy. - Storing Safely
Nestle the tubers in a breathable container—like a cardboard box or paper bag—filled with peat moss, sawdust, or vermiculite. Store in a cool (40–50°F or 4–10°C), dark, dry place, like a basement or garage. Peek in monthly to ensure they’re not drying out or rotting.
Fibrous Begonias: Keeping Them Cozy
Fibrous begonias, like the ever-popular wax varieties, don’t have tubers but can still overwinter beautifully. Here are two approaches:
- As Indoor Plants
Bring potted fibrous begonias inside before frost hits. Set them in a bright spot with indirect light, like near a south-facing window. Water just enough to keep the soil barely moist, and keep temperatures above 60°F (15°C) to mimic their happy place. - As Cuttings
Snip 4–6 inch stems from healthy plants, strip the lower leaves, and dip the cut end in rooting hormone. Plant in a mix of perlite and peat moss, covering with a plastic bag to trap humidity. Once roots form, pot them up and treat them like houseplants until spring.
Rhizomatous Begonias: Leafy Legends
Known for their jaw-dropping foliage, rhizomatous begonias are often grown indoors year-round. To overwinter them:
- Moving Indoors
Transition potted plants to a spot with bright, indirect light. Cut back on watering to avoid soggy roots, and keep them away from cold drafts or sudden temperature swings. - Dividing Rhizomes
If your plant’s rhizomes are crowded, fall is a great time to divide. Slice healthy sections with at least one growth point, dust with fungicide, and pot in fresh, well-draining soil. Keep them warm and lightly moist until new growth appears.
Caring for Begonias Through Winter
Keeping Conditions Just Right
Whether you’re storing tubers or tending indoor plants, the right environment is key. For tubers, check every few weeks for signs of rot or shriveling—mist lightly if they look too dry. For potted begonias or cuttings, ensure they get enough light and avoid overwatering. If your home’s air is dry, a pebble tray with water or occasional misting can boost humidity.
Handling Winter Woes
- Rot: Mushy tubers or roots? Trim away affected areas, dust with fungicide, and improve ventilation in storage.
- Pests: Spider mites or aphids can sneak indoors. Treat with neem oil or insecticidal soap for quick control.
- Wilting: This might mean too much water or too little light. Adjust your care routine to get them back on track.
Spring Awakening: Bringing Begonias Back
Reviving Tuberous Begonias
Come spring—about 6–8 weeks before your last frost date—it’s time to wake your tubers. Look for tiny pink or white sprouts as a sign they’re ready. Plant them in fresh, well-draining potting mix, concave side up, with just a light covering of soil. Place in a warm spot (65–70°F or 18–21°C) with bright, indirect light, and water sparingly until shoots emerge.
Rejuvenating Potted Begonias
For fibrous or rhizomatous begonias kept indoors, ease them into spring by gradually increasing water and moving them to a brighter spot. If they’ve grown leggy, trim back stems to encourage fuller growth. A light dose of balanced, water-soluble fertilizer will give them a boost for the season.
Hardening Off for Outdoor Life
Before setting begonias outside, help them adjust to avoid stress. Over 1–2 weeks, place them outdoors for a few hours daily, starting in shade and gradually increasing sun exposure. Once frost risk is gone, transplant them to your garden or favorite containers.
Pro Tips for Overwintering Success
- Label Like a Pro: Jot down the begonia variety and storage date to keep track of your collection.
- Pick the Perfect Spot: A cool, dry basement or garage is ideal for tubers—avoid damp or warm areas.
- Stay Patient: Tubers can be slow to sprout in spring, so don’t give up on them too soon.
- Try Cuttings as a Backup: New to overwintering? Take cuttings to practice propagation without risking your main plants.
Mistakes to Dodge
Overwintering is straightforward, but a few slip-ups can trip you up. What should you avoid?
- Overwatering: Excess moisture is the top cause of rot in both tubers and potted plants.
- Bad Storage Choices: Warm or humid spots can lead to mold or early sprouting in tubers.
- Ignoring Indoor Plants: Skimping on light or inconsistent watering can weaken plants, leaving them less vibrant come spring.
The Bigger Picture: Why Overwintering Rocks
Good for Your Wallet and the Planet
Overwintering isn’t just about your garden—it’s a sustainable choice. By reusing plants, you cut down on buying new ones, which often come with a hefty environmental footprint. Plus, you’ll save cash for other gardening adventures. Who doesn’t love a deal that’s good for both you and the Earth?
A Deeper Bond with Your Garden
There’s something magical about guiding your begonias through winter. It’s a chance to connect with your plants, learning their quirks and celebrating their resilience. When those first blooms burst open in spring, you’ll feel like a proud plant parent, knowing you helped them shine again.