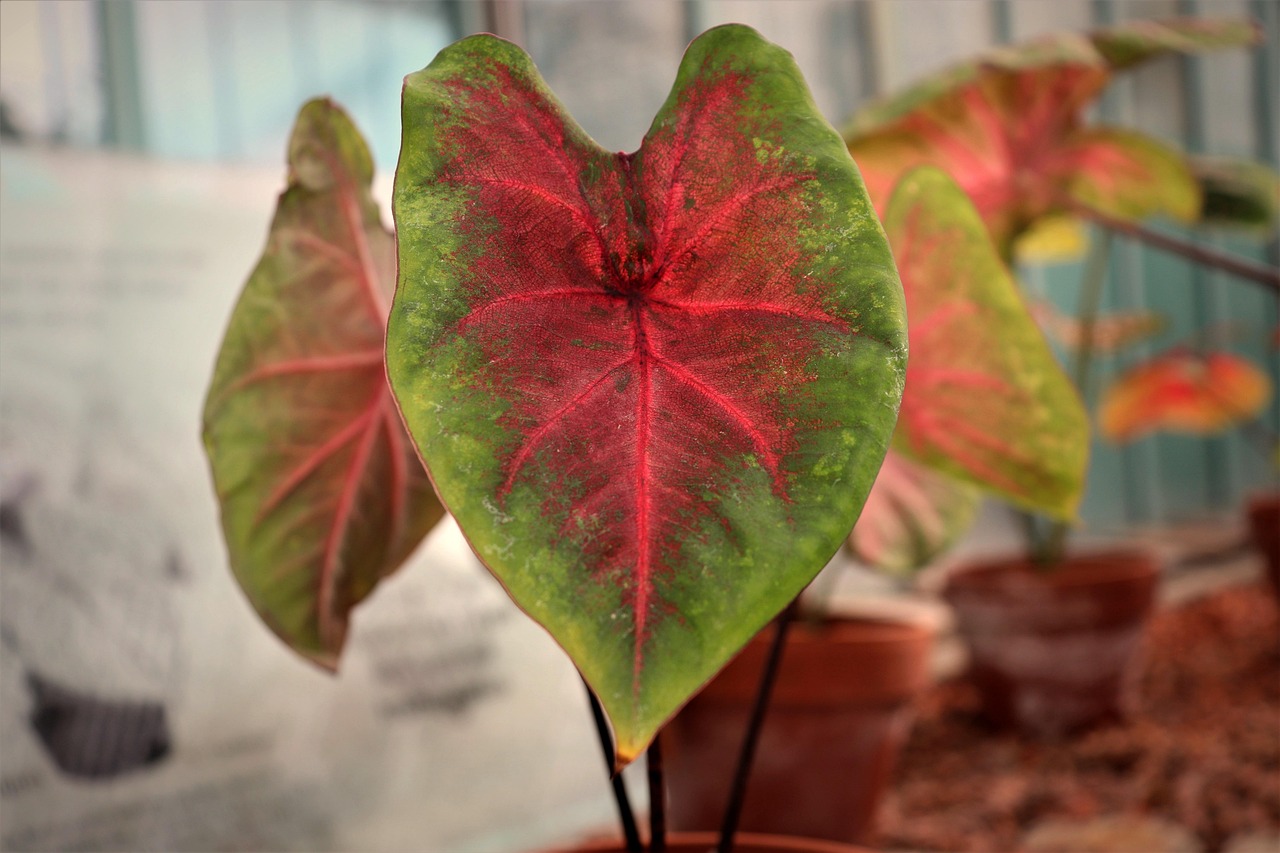
Caladiums — with their vibrant splashes of pink, red, and green — are like living paintings in your garden or home. But here’s the challenge: these tropical beauties are not fans of the cold. Once frost hits, their lush leaves fade, and their tubers risk rotting if left outside. The good news? With the right overwintering method, you can save your caladiums year after year, enjoying even fuller and brighter displays each spring.
But how exactly do you overwinter caladium without the stress, uncertainty, and endless Googling? Let’s break it down step-by-step — no guesswork required.

Why Bother Overwintering Caladium?
Before we jump into the how-to, let’s address the big question: why go through the trouble at all?
- They’re not cheap. Buying fresh caladium bulbs every spring can add up fast.
- Bigger and better blooms. Tubers that are preserved tend to produce stronger, lusher leaves the next season.
- Rare varieties are worth saving. Some stunning cultivars aren’t always available every year.
- Sentimental value. That one plant you bought on vacation or received as a gift deserves a longer life.
So, overwintering isn’t just a money-saver — it’s a way to keep your garden’s personality alive.
When Should You Start Overwintering Caladium?
Timing is everything. If you wait too long, frost can damage the tubers. If you dig them up too early, you’re cutting short their growth season.
The sweet spot?
- Outdoor plants: Begin once temperatures consistently dip below 60°F (15°C) and before the first frost.
- Indoor potted plants: Start when leaf yellowing begins, signaling the plant’s natural dormancy phase.
Two Main Methods for Overwintering Caladium
Depending on your climate and space, you can either:
- Let them go dormant and store the tubers
- Keep them growing indoors through winter
Let’s go through both — step-by-step.
Method 1: Storing Caladium Tubers (Dormant Storage)
This is the most common approach, perfect if you don’t have bright indoor light for winter growth.
Step 1: Lift the Tubers
- Use a small garden fork or spade to gently loosen the soil.
- Dig carefully to avoid slicing into the tubers.
- Shake off excess soil — don’t wash them just yet.
Step 2: Cure the Tubers
Curing helps prevent rot by drying the tubers before storage.
- Spread them out on newspaper or cardboard in a warm, dry spot.
- Let them cure for about 7–10 days.
- Remove any remaining leaves or roots after curing.
Step 3: Store Properly
- Place the cured tubers in a breathable bag (like paper or mesh) or in a cardboard box.
- Surround them with dry peat moss, vermiculite, or sawdust to keep them from drying out completely.
- Store in a cool, dark location — ideally between 50–60°F (10–15°C).
Pro Tip: Check them monthly. If they seem shriveled, mist the peat moss lightly. If you see mold, remove the affected tuber immediately.
Method 2: Growing Caladium Indoors All Winter
If you want greenery during the colder months, this method works beautifully — but it does require some attention.
Step 1: Choose Your Healthiest Plants
Select only strong, pest-free caladiums for indoor overwintering. Weak plants may not adapt well to the lower light.
Step 2: Repot if Needed
- Transfer to smaller pots if you’ve been growing them in large outdoor containers.
- Use fresh, well-draining potting mix to prevent root rot.
Step 3: Provide Light and Warmth
- Place in a bright, indirect-light location, such as near a south-facing window.
- Keep temperatures between 65–75°F (18–24°C).
- Supplement with a grow light if your space is dim.
Step 4: Adjust Watering
- Water when the top inch of soil feels dry.
- Reduce feeding — once every 4–6 weeks is plenty during winter.
Avoid These Common Overwintering Mistakes
Even experienced gardeners sometimes lose caladiums over winter. Watch out for these pitfalls:
- Storing them too wet: Excess moisture causes rot.
- Forgetting to check stored tubers: Neglecting them for months may lead to mold or total desiccation.
- Keeping them in freezing conditions: One night below 50°F (10°C) can kill the tubers.
- Overwatering indoor plants: Winter light is weaker, so caladiums drink less.
Spring Revival: Bringing Caladium Back to Life
Once winter fades, it’s time to wake your caladiums from their rest.
If You Stored Tubers Dormant:
- Bring them out of storage in early spring.
- Inspect for any soft or rotting tubers and discard those.
- Plant them in fresh, moist soil with the “eye” (growing point) facing up.
- Keep them warm and lightly moist until shoots appear.
If You Kept Them Growing Indoors:
- Gradually acclimate them to outdoor conditions.
- Increase watering and resume regular feeding.
- Watch for sun scorch during the first week outside.
Overwintering Caladium in Warmer Zones
If you live in USDA Zones 9–11, you may not need to dig them up at all. Instead:
- Cut back foliage after it dies down naturally.
- Apply a thick layer of mulch to protect from occasional cold snaps.
- Water sparingly during dormancy.
Quick Reference: Overwintering Caladium Cheat Sheet
Dormant Storage
- Lift before frost
- Cure 7–10 days
- Store at 50–60°F (10–15°C) in dry medium
Indoor Growth
- Keep at 65–75°F (18–24°C)
- Bright indirect light or grow light
- Water lightly, fertilize sparingly
