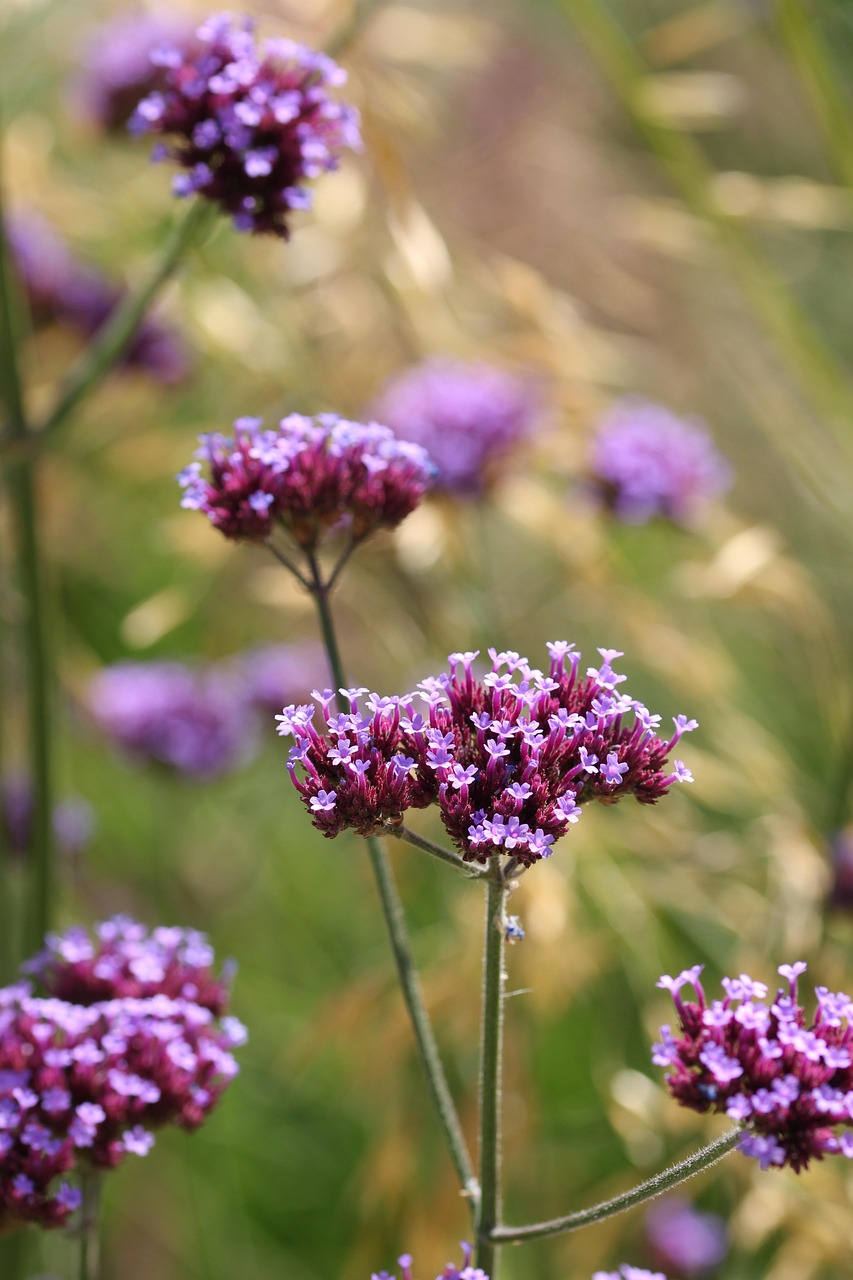
Verbena is one of those garden plants that makes you stop and smile. Its clusters of bright, nectar-rich flowers can light up a border, container, or hanging basket for months. But as soon as winter’s chill sets in, that vibrant display is at risk.
If you’ve ever grown verbena, you’ll know it’s not the toughest plant when it comes to frost. Left outside unprotected, it can quickly wilt, brown, and vanish with the first hard freeze. But here’s the good news — with the right overwintering approach, you can keep your verbena alive, healthy, and ready to burst back into bloom once spring arrives.
So, how do you give your verbena the VIP treatment through winter? Let’s break down the foolproof way to keep it thriving.
Understanding Verbena’s Winter Needs
Is Verbena Annual or Perennial?
One of the most common questions gardeners ask is: Is verbena an annual or perennial? The answer depends on your climate. In warmer regions (USDA zones 9-11), verbena is a hardy perennial and can survive year-round with minimal care. In cooler zones, it’s often grown as an annual — but that doesn’t mean it has to be replaced every year. With a little extra effort, even gardeners in frosty regions can enjoy the same plant for multiple seasons.
Why Does Verbena Struggle in Winter?
The main threat to verbena in winter is prolonged frost. Cold temperatures damage its tender stems and leaves, while excessive moisture can lead to root rot. This is why the key to overwintering is twofold: protection from freezing temperatures and good drainage to prevent soggy soil.
Two Foolproof Methods for Overwintering Verbena
1. Overwintering Outdoors (In Mild Climates)
If you live in an area where winters are cool but not brutally cold, you can keep your verbena in the ground or in outdoor containers with the right protection.
Steps for Outdoor Overwintering:
- Prune It Back – In late autumn, after flowering ends, cut the plant back by about one-third. This reduces stress and encourages strong regrowth in spring.
- Mulch Generously – Apply a 3–4 inch layer of mulch (like straw, bark chips, or leaf mold) around the base to insulate the roots.
- Improve Drainage – If your soil tends to stay wet in winter, add grit or sand to improve drainage. Verbena dislikes sitting in waterlogged soil.
- Protect from Harsh Winds – If possible, plant it near a wall or fence for shelter, or use a breathable garden fleece on extremely cold nights.
Pro tip: Even in mild climates, a sudden cold snap can cause damage. Keep an eye on weather forecasts and cover your plants if frost is predicted.
2. Overwintering Indoors (For Colder Climates)
If your winters are harsh, bringing verbena indoors is the safest route. Think of it as giving your plant a cozy winter vacation.
Steps for Indoor Overwintering:
- Choose Your Plants – Select your healthiest verbena plants before the first frost.
- Lift and Pot Up – Dig around the root ball carefully, keeping as much soil intact as possible. Transfer to a pot with fresh, well-draining compost.
- Trim Back Growth – Cut stems back by one-third to prevent excessive water loss and encourage a compact shape.
- Find a Bright, Cool Spot – A sunny windowsill, unheated greenhouse, or bright garage works well. Aim for temperatures between 45–55°F (7–13°C).
- Water Lightly – Water sparingly during winter, keeping the soil just barely moist. Overwatering is the fastest way to lose your plant.
Pro tip: If you don’t have a sunny window, consider using a grow light to keep your verbena from becoming leggy.
The Secret Weapon: Taking Cuttings
Even if you’re short on indoor space, you can still keep your verbena going by taking cuttings before frost arrives. This method is incredibly space-efficient and ensures you’ll have fresh, vigorous plants next spring.
How to Take Verbena Cuttings for Winter:
- In late summer or early fall, snip 3–4 inch healthy, non-flowering stems.
- Remove the lower leaves and dip the cut end in rooting hormone.
- Plant the cuttings in a small pot filled with moist, well-draining compost.
- Keep them in a warm, bright spot indoors until rooted, then transfer to a cooler location for the rest of winter.
By spring, these cuttings will be strong young plants ready to take center stage in your garden.
Common Mistakes to Avoid When Overwintering Verbena
Even with the best intentions, some overwintering attempts fail due to common pitfalls. Avoid these mistakes:
- Overwatering Indoors – Verbena hates soggy soil, especially in low-light winter conditions.
- Forgetting to Acclimatize – Don’t move your plant from warm indoors straight into outdoor spring sun; harden it off gradually.
- Ignoring Pests – Indoor overwintering can attract aphids or spider mites. Check regularly and treat promptly.
- Cutting Back Too Late – Prune in autumn before frost, not in spring when the plant is already stressed.
Reviving Verbena in Spring
When the danger of frost has passed, it’s time to wake your verbena from its winter rest.
For Outdoor Overwintered Plants:
- Remove the mulch once temperatures are consistently mild.
- Feed with a balanced, slow-release fertilizer.
- Trim any dead or damaged stems to encourage fresh growth.
For Indoor Overwintered Plants:
- Move them to a brighter, warmer location about 2–3 weeks before the last frost.
- Gradually acclimatize them to outdoor conditions by placing them outside for a few hours a day, increasing exposure over a week or two.
- Once fully hardened, plant them back in the garden or containers.
Bonus: Keeping Verbena Blooming Longer Next Year
Want a display that lasts from late spring right through to autumn? Here’s how to keep verbena looking spectacular:
- Deadhead Regularly – Removing spent blooms encourages new flowers.
- Feed Monthly – A high-potash fertilizer keeps the plant blooming.
- Pinch Back Stems – This creates a bushier plant with more blooms.
- Monitor Watering – Keep soil moist but not waterlogged during peak growing season.