Reviving a Root-Bound Snake Plant Without Killing It
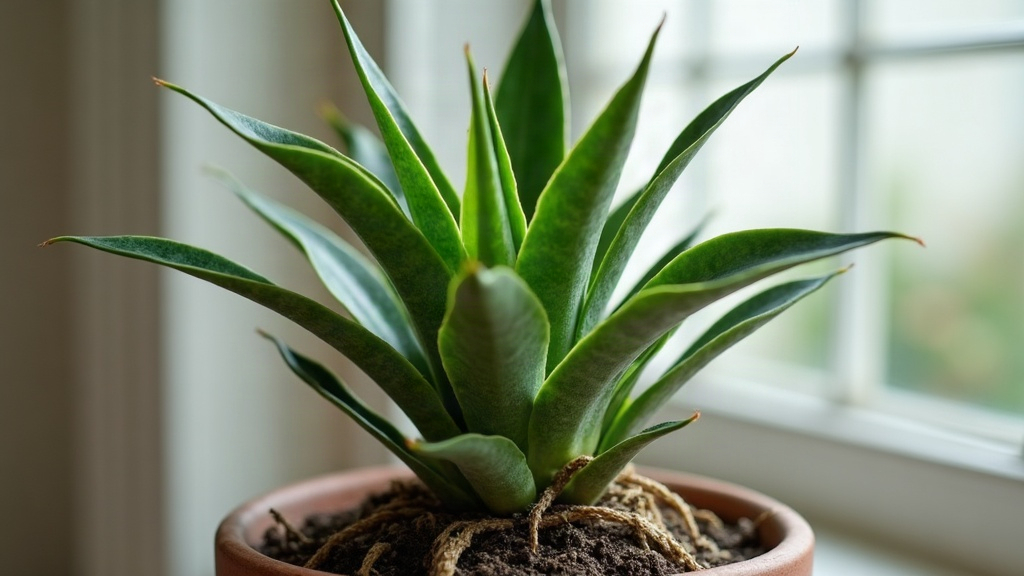
If your snake plant has stalled out, the pot’s splitting at the seams, or you’re spotting roots poking through the drainage holes, chances are it’s root-bound. Here’s the good news: you can bring it back without drama. Repot gradually, trim away the dead roots with a careful hand, and move it into a pot just slightly bigger with soil that actually drains. Do this right and most snake plants perk back up within a few weeks, pushing out new, upright leaves as a thank-you—especially when repotting aligns with the seasonal care calendar.
Signs Your Snake Plant Is Root-Bound
Before you grab a trowel, make sure this is actually the problem. Look for:
- Roots circling tightly near the surface or poking out of the drainage holes
- Water running straight through the pot instead of soaking in
- The plant tipping over because roots have literally shoved the soil aside
- Leaf growth that’s stalled despite decent light and a normal watering routine
- A pot that’s bulging, cracked, or warped from root pressure underneath
Here’s the thing about snake plants (Dracaena trifasciata, once known as Sansevieria): they actually handle being a bit root-bound better than most houseplants. Some growers swear mild crowding even nudges them toward blooming. But there’s a limit. Once the roots have packed themselves into a solid mass with barely any soil left, the plant can’t pull in water or nutrients anymore, and that’s your cue to step in.
Why Gentle Repotting Matters
The most common mistake? Overcorrecting. People yank the plant out, hack off half the root ball, and dump it into a pot three sizes too big, thinking bigger is better. It isn’t. That kind of shock often ends in root rot, because an oversized pot holds far more moisture than the remaining roots can actually use.
Snake plants respond best to small, deliberate moves: trim only what needs trimming, leave the healthy roots alone as much as possible, and size up just a little.
Step-by-Step: Reviving a Root-Bound Snake Plant
1. Water lightly a day before repotting
A root ball with a little moisture in it comes apart more easily and won’t snap healthy roots the way a bone-dry one will.
2. Remove the plant carefully
Lay the pot on its side and gently squeeze or tap around the edges to loosen things up. Whatever you do, don’t pull on the leaves. Grip near the base of the rhizome instead and ease it out.
3. Inspect and trim the roots
- Snip away anything mushy, brown, or foul-smelling (that’s rot talking) using clean, sharp scissors.
- Work your fingers gently through tightly circled roots to loosen them. If they’re too compacted to budge, make a few shallow vertical cuts, this actually encourages the roots to grow outward again.
- Leave the firm, white or tan roots exactly as they are. Those are the healthy ones.
4. Choose the right pot size
Size up by just 1-2 inches in diameter, nothing more. A pot that’s too roomy holds onto excess water and raises your rot risk considerably. And always, always pick one with drainage holes.
5. Use fast-draining soil
Snake plants lean succulent in their habits, so soggy roots are basically their worst nightmare. A solid mix looks like:
- 2 parts regular potting soil
- 1 part perlite or pumice
- 1 part coarse sand (optional, if you want extra drainage insurance)
6. Repot and settle in
Set the plant just a touch above where the soil line used to sit, fill in around the roots, and press down lightly, no need to pack it in tight. Skip watering right away. Give it 3-5 days so any cut roots can callus over first; this alone cuts your infection risk significantly.
Aftercare for Recovery
- Light: Bright, indirect light helps it bounce back faster. Keep it out of harsh direct sun for the first couple of weeks.
- Watering: Go easy. Water only once the top 2-3 inches of soil are bone dry. Overwatering right after repotting is, hands down, the number one killer.
- No fertilizer yet: Hold off for 4-6 weeks. Feeding too early stresses the new roots before they’ve had a chance to settle.
- Patience: New growth can take anywhere from 3 to 6 weeks to show up. If one or two older leaves go yellow during this adjustment period, don’t panic, that’s normal, not a failure.
When to Divide Instead of Repot
If you pull the plant out and find a dense tangle with multiple separate rhizome clusters, you might be better off dividing it rather than cramming everything into one bigger pot. Split the clumps at their natural rhizome breaks, making sure each piece keeps some roots and at least one healthy leaf fan attached. This spreads the stress out and, as a bonus, leaves you with extra plants to pot up, gift, or even sell.
Conclusion
A root-bound snake plant isn’t a five-alarm emergency, but it does need dealing with before compacted soil starts choking off growth for good. Repot gently, trim only what’s actually unhealthy, go up in pot size just a little, and resist the urge to water or feed it right away. Follow that sequence and your plant has every chance of coming back stronger, often pushing out fresher, more vigorous leaves within a month.