Weekly Submersion & Drying Routine for Tillandsia Xerographica
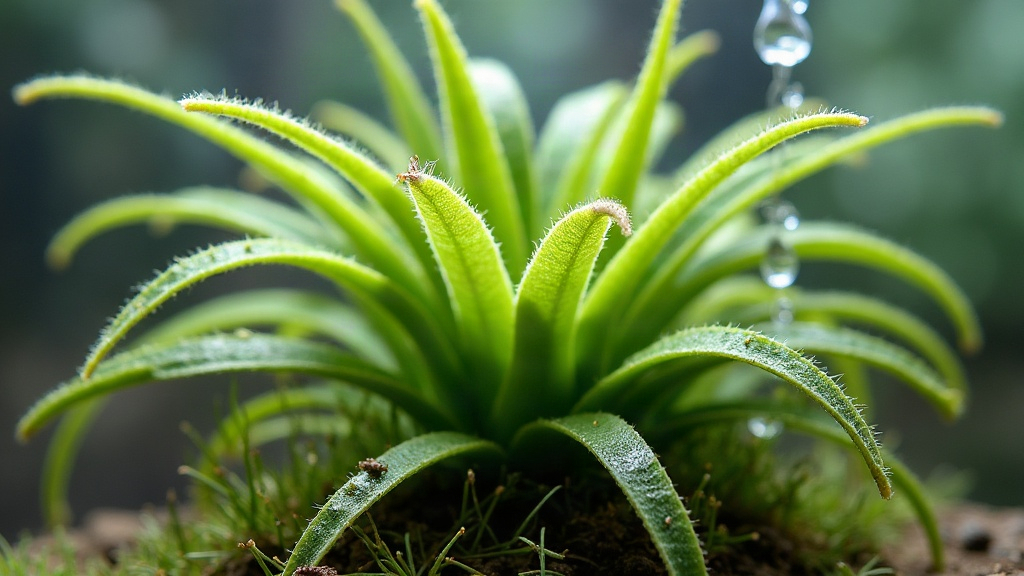
Tillandsia Xerographica Watering: The Weekly Soak-and-Dry Method
Tillandsia xerographica sits at the top of most collectors’ wish lists, and it’s easy to see why: that huge, silvery rosette of curling leaves looks almost sculptural, like something carved rather than grown. But that beauty comes with a catch. Unlike the smaller Tillandsia species you can get away with misting every day or two, xerographica wants something different. It does best on a weekly submersion-and-thorough-drying routine. Nail that cycle and you’ll get slow, steady growth with that vibrant silver-green color holding for years.
Why Xerographica Needs a Different Watering Approach
This plant hails from the dry, seasonally arid stretches of Mexico and Central America. Its thick leaves, coated in trichomes, are essentially built-in water tanks designed to survive drought. That’s precisely why rot kills far more xerographica plants than dehydration ever does. Misting alone won’t cut it (the leaves are too thick to absorb enough moisture that way), but here’s the trap: soak it and then let it sit wet, and you’ve likely just signed its death warrant. Rot sets in fast.
So what actually works? A simple, repeatable rhythm: submerge, shake, dry. Three steps, every week, no shortcuts.
The Weekly Submersion Routine Step-by-Step
1. Choose Your Soak Day
Pick one day and stick with it, Sunday morning works well for a lot of growers. Having a fixed schedule means you can actually track how the plant is responding over time, instead of guessing whether you watered three days ago or ten.
2. Prepare the Water
- Room-temperature filtered water, rainwater, or dechlorinated tap water all work fine.
- Skip distilled water as a long-term solution. It’s mineral-free, and xerographica actually needs those trace minerals.
- Stay away from heavily chlorinated or softened water too. It can eat away at the trichomes over time.
3. Submerge Fully
Flip the plant upside down (or just drop it fully into a bowl or sink) for 20 to 30 minutes. A quick dunk won’t do it here. Xerographica’s rosette shape naturally traps water near its base, so you need full, sustained submersion to get moisture evenly through the whole leaf structure, not just the tips.
4. Shake Out Excess Water
Here’s where most people drop the ball, and it’s the step that actually matters most:
- Pull the plant out and shake it upside down, firmly, several times.
- If water’s still pooling in the leaf folds near the crown, blot it out gently with a soft cloth or paper towel.
Water sitting at the base for hours is, hands down, the number one cause of crown rot in this species.
5. Dry Completely Before Returning to Display
Lay the plant upside down (or at an angle) on a towel somewhere with good airflow and bright, indirect light. Give it 4 to 6 hours, or longer if it’s not bone-dry to the touch yet. One rule you really shouldn’t break: never put a still-wet xerographica back into a closed terrarium, a glass globe, or a snug mount. Trapped moisture plus zero airflow is basically a recipe for fungal rot within days.
Adjusting the Routine by Season and Environment
- Hot, dry climates or summer months: Weekly soaking still applies, but if the leaves start curling tightly between soaks, that’s your cue for a quick mid-week mist.
- Humid environments (above 60% relative humidity): You can stretch this to once every 10 to 14 days. The plant’s pulling plenty of moisture from the air already.
- Winter or cooler indoor conditions: Growth slows down, so does water uptake. Every 10 days is usually enough.
- Air-conditioned or heated rooms: These spaces dry plants out quickly no matter the season. Keep the weekly schedule here and keep an eye on leaf texture.
Signs Your Routine Needs Adjusting
- Leaves curling or rolling tightly: That’s thirst talking. Soak a bit earlier, or add a light mist between cycles.
- Dark, mushy, or black base: This is rot, plain and simple. Back off on soak frequency and take a hard look at whether you’re drying it thoroughly enough.
- Crispy, browning leaf tips: Usually a humidity issue, not a watering one. Bump up ambient humidity rather than soaking more often.
- Blooming or producing pups: Good news, this means your routine is working. Xerographica only pups once it’s reached maturity under solid care, so treat this as a win.
Common Mistakes to Avoid
- Soaking in direct sunlight. The water heats up and stresses the plant out. Find a shaded spot instead.
- Skipping the shake-and-dry step. Pooled water at the base is the single biggest killer of this plant, worth repeating.
- Using metal containers. Certain metals react with the trichomes. Glass, plastic, or ceramic bowls are the safer bet.
- Watering on no particular schedule. A plant that gets soaked randomly, sometimes every 4 days, sometimes every 16, struggles more than one that gets a steady weekly rhythm, even an imperfect one.
Final Thoughts
Long-term success with Tillandsia xerographica really comes down to one dependable habit: soak it thoroughly, shake out every last drop you can, and let it dry all the way before putting it back on display. That’s the whole formula, and it doesn’t really change. What does change is the frequency, tweak it slightly based on your climate and humidity, and let curling or browning leaves tell you when something’s off. Stay consistent, make sure airflow is good after every soak, and that iconic silver rosette will keep getting bigger, year after year.