Applying Cytokinin Keiki Paste on Phalaenopsis for Basal Keikis
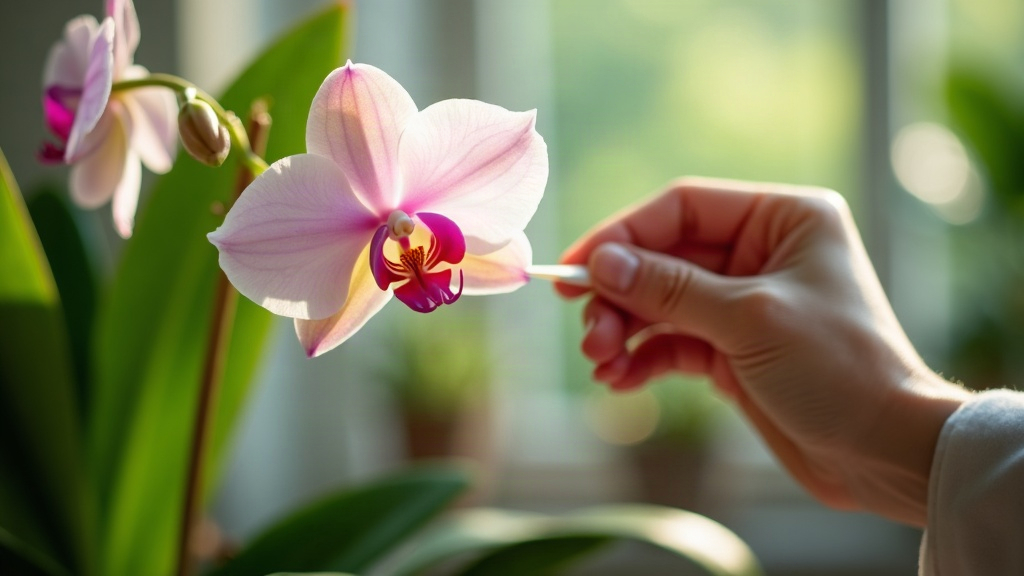
Applying Cytokinin Keiki Paste to Phalaenopsis Orchids: A Practical Guide to Basal Keikis
Cytokinin keiki paste is one of the most dependable tools a home grower has for multiplying a favorite Phalaenopsis. Dab it on the right spot, and a dormant node wakes up into a baby plant (a “keiki”) either on an old flower spike or down at the base, near the roots. This guide covers the how, when, and where of applying the paste, with extra attention to basal keikis. They’re fussier than spike keikis, but when one takes off, it’s genuinely satisfying.
What Is Keiki Paste and How Does It Work?
At its core, keiki paste is just lanolin mixed with a synthetic cytokinin, usually 6-benzylaminopurine (BAP). Cytokinins are the hormones responsible for cell division; they flip a dormant growth bud from “sleep mode” into “grow mode.” Dab it on a node, and the orchid essentially gets tricked into pushing out a new plantlet instead of sitting still.
There are two spots you can target:
- Spike keikis – these form on a dormant eye along a spent flower spike. Easiest and fastest option, hands down.
- Basal keikis – these form near the base of the plant, close to the roots. Slower to appear and harder to predict, but far more valuable, since they eventually separate into a fully independent, rooted orchid.
Why Target Basal Keikis Specifically?
So why bother with the harder option? A few good reasons:
- They emerge from the crown, right near the existing root mass, which makes separating and potting them up much simpler down the line.
- They typically arrive with a sturdier root system already attached by the time you’re ready to cut them free.
- They’re the go-to fix for a “leggy” orchid that’s shed its lower leaves. A basal keiki basically gives the plant a fresh start.
The catch? Basal nodes usually hide under old, papery leaf sheaths and just don’t respond to hormone treatment as readily as spike nodes do. You’ll need more patience and a cleaner technique here than you would for a spike keiki.
Step-by-Step: Applying Keiki Paste for Basal Keikis
1. Choose a Healthy, Mature Plant
Don’t bother trying this on anything less than a plant with 4-5 healthy leaves and solid roots. A stressed or struggling orchid won’t push out a basal keiki no matter how much hormone paste you apply. It simply doesn’t have the energy reserves.
2. Locate the Basal Node
Peel back the dry, papery sheaths wrapped around the base of the stem, gently. You’re looking for tiny raised bumps just above the roots, right at the base. Those bumps are the dormant eyes you want.
3. Sterilize Your Tools
Swipe your tweezers or a small pick with rubbing alcohol and use them to clear away any debris sitting on the node. Be careful not to nick living tissue while you’re at it.
4. Apply a Thin Layer of Paste
Grab a toothpick or a clean cotton swab tip and apply a pea-sized dab, nothing more, directly onto the exposed node. Less really is more here: too much paste can burn the tissue or invite rot.
5. Keep the Area Dry and Protected
No water on the treated node for 24-48 hours, minimum. Keep the plant somewhere bright with indirect light, and hold humidity in the 50-70% range if you can manage it.
6. Be Patient
This is the hard part. Basal keikis can take anywhere from 2 to 4 months before you see anything, compared to just 3-6 weeks for a spike keiki. Resist the urge to reapply paste over and over; once every 3-4 weeks is the absolute max, and only if there’s genuinely zero response after that window.
Common Mistakes to Avoid
- Overdoing the paste – too much invites chemical burn or fungal rot right at the node.
- Treating a weak or dehydrated plant – without energy reserves, there’s nothing to fuel new growth.
- Poking at the node constantly – checking on it every day does more harm than good to developing tissue.
- Letting humidity drop – low humidity will stall keiki development noticeably.
Aftercare Once a Keiki Appears
The second you spot a tiny green nub, leave it alone. Don’t touch it, don’t fuss over it. Keep up your normal routine with the mother plant: regular watering, quarter-strength fertilizer weekly. Wait until the keiki has grown to:
- At least 2-3 leaves
- Roots measuring 2 inches or longer
Only at that point should you separate it, using a sterile blade, dust the cut on both the keiki and the mother plant with cinnamon or a fungicide, then pot the new plantlet in fine-grade orchid bark or sphagnum moss.
Final Thoughts
Inducing basal keikis with cytokinin paste on Phalaenopsis orchids takes patience more than skill. Pick a healthy mother plant, use a minimal dab of paste right on the dormant basal node, and keep humidity steady while you wait out the months. Get the technique right, and you’ll end up multiplying your orchid collection while giving an older, leggier plant a genuine second life.