Mounting a Staghorn Fern on Cork Bark: Step-by-Step Guide
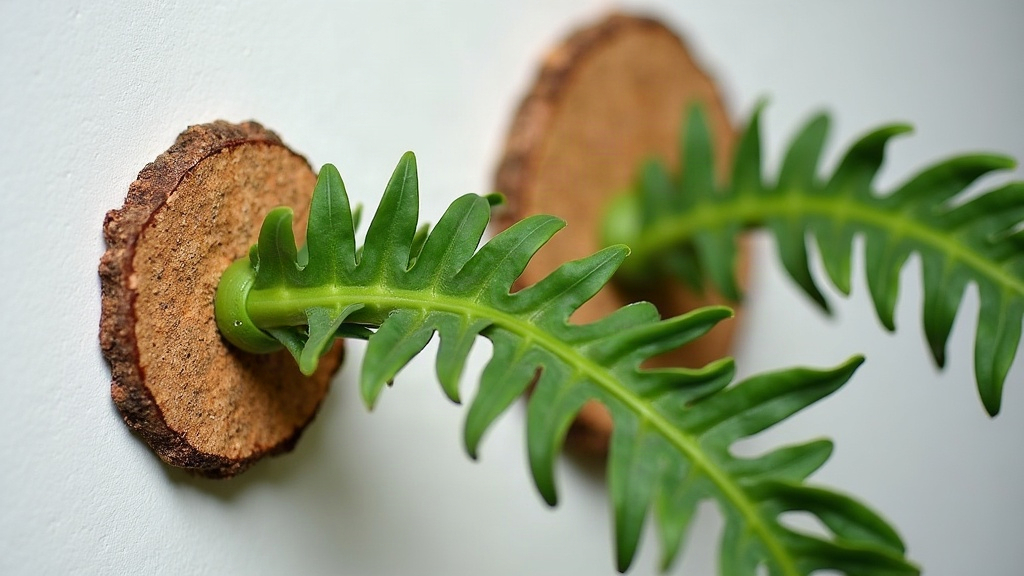
How to Mount a Staghorn Fern on Cork Bark
Mounting a staghorn fern (Platycerium) on cork bark is one of the most satisfying projects you can take on as a houseplant enthusiast. One minute you’ve got an ordinary fern sitting in a nursery pot, the next you’ve got a living sculpture hanging on your wall. This guide covers the whole process, from picking the right plant and materials through long-term care, so your mount actually thrives instead of limping along after a rushed weekend project.
Why Mount a Staghorn Fern on Cork Bark?
In the wild, staghorn ferns are epiphytes. That means they grow attached to trees, not rooted in soil. Mounting one on cork bark recreates that setup: the roots get to breathe, and the fronds arch outward the way they would on a tree trunk in a Southeast Asian rainforest. Cork bark works especially well because it:
- Resists rot far longer than regular wood
- Holds onto moisture without turning soggy
- Has a rough, natural texture roots can grip into
- Looks great as a rustic piece on a wall, almost like botanical art
What You’ll Need
Gather these before you start, so you’re not scrambling halfway through:
- A healthy staghorn fern (a division or pup, something around 4-6 inches wide is a solid starting size)
- A piece of cork bark, flat or slightly curved, at least 10x10 inches
- Sphagnum moss (not peat moss, they behave very differently when wet)
- Fishing line, clear nylon string, or copper wire
- A sawtooth hanger or picture hook
- Screws or a mounting board, if you want it ready to hang right away
- Scissors and a spray bottle
Step-by-Step Mounting Process
1. Prepare the Cork Bark
If your cork bark feels dry and brittle, soak it in water for 20-30 minutes first. This softens it enough that you can drill into it or attach a hanger without the whole thing cracking apart. Put the sawtooth hanger or a sturdy wire loop on the back before you mount the plant. Trying to attach it afterward, with moss and roots already in the way, is a headache you don’t need.
2. Soak the Sphagnum Moss
Submerge the moss in water until it’s fully saturated, then squeeze out the excess by hand. You’re aiming for the texture of a wrung-out sponge, damp all the way through but not dripping.
3. Create a Moss Base
Lay a handful of moss directly onto the cork bark where the fern will sit. About 1-2 inches thick is right, enough to give the roots something soft to push into as they establish.
4. Position the Staghorn Fern
Take the fern out of its pot and gently shake off any loose soil clinging to the roots. Staghorn ferns grow two completely different types of fronds, and it helps to know which is which:
- Shield fronds (basal fronds): flat, round, and brown once mature. These anchor the plant to its surface and should sit flush against the moss and bark.
- Antler fronds (fertile fronds): the green, forked fronds everyone recognizes. Keep these pointing outward, away from the bark.
Set the root ball right onto the moss base and make sure the shield frond is making solid contact with it, not floating above or sitting at an angle.
5. Secure with Fishing Line
Wrap fishing line or nylon string around the bark and the root ball in a crisscross pattern, pulling it snug so the moss and roots stay put. Don’t stress about how it looks at this stage. As the shield frond grows, it will spread over the line and hide it completely within a season or two.
6. Hang and Position
Once everything feels secure, hang the mount somewhere with bright, indirect light. Skip spots that get direct afternoon sun, it’ll scorch the fronds faster than you’d think, sometimes within a single hot afternoon.
Watering and Care After Mounting
A mounted staghorn dries out noticeably faster than one sitting in a pot of soil, so watering becomes more hands-on:
- Soak method: Submerge the whole mount in a sink or basin of water for 10-15 minutes once a week.
- Misting: If your home runs dry (think winter with the heating on), mist the fern 2-3 times a week between soaks.
- Check moisture: Press a finger against the shield frond area. If it feels bone dry, it’s time to water, don’t wait for the fronds to droop.
During spring and summer, feed it monthly with a diluted liquid fertilizer, about quarter strength. You can spray it onto the fronds or pour it into the shield frond itself, which in nature acts like a funnel that collects falling leaf debris and nutrients.
Common Mistakes to Avoid
- Overwatering: Soggy moss is the number one killer here. Root rot sets in fast, so let the mount dry out a bit between waterings.
- Direct sun exposure: Leads to brown, crispy fronds that won’t recover, you’ll need to wait for new growth instead.
- Removing the shield frond: Even once it turns brown and papery and looks “dead,” leave it alone. It’s still protecting the roots underneath.
- Using too much moss: A thick, packed layer holds too much water and invites rot rather than preventing it.
How Long Until It Fills In?
Give it 6 to 12 months. A healthy mount will push out new antler fronds and the shield frond will gradually expand to cover the fishing line on its own, no intervention needed. How fast this happens really comes down to light levels, humidity, and whether you’re feeding it consistently.
Final Thoughts
Mounting a staghorn fern on cork bark really isn’t complicated once the basics click: give it secure footing in damp sphagnum moss, orient the fronds correctly, and stick to a steady watering rhythm. Be patient with it. What starts as a modest little division will, over a year or two, turn into a lush wall display that genuinely gets better with age.