Stepping Up from Pothos: Beginner's Ikea Greenhouse Cabinet Guide
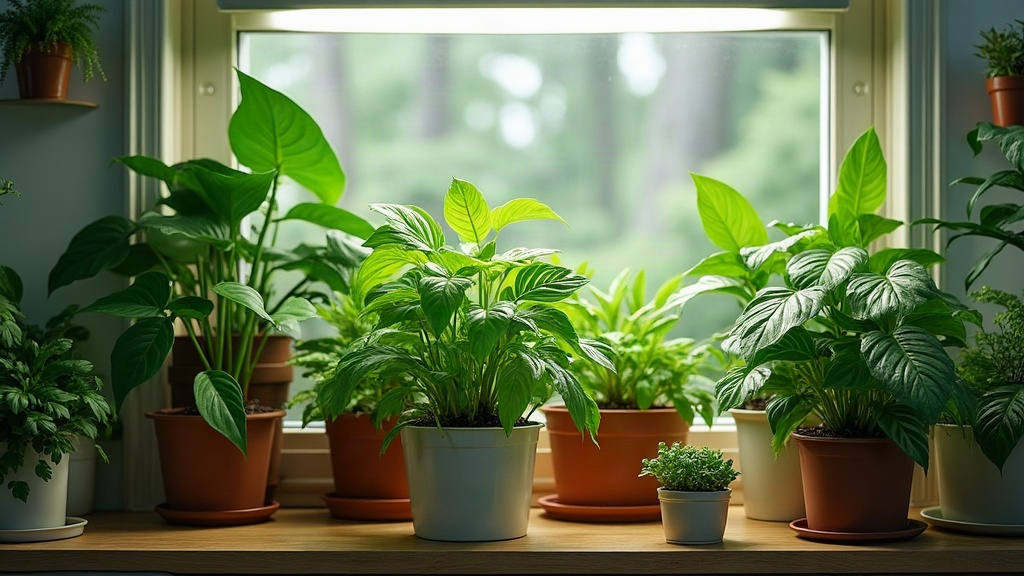
If you’ve kept a pothos alive for a year without really trying, and you’re itching for something harder, building an Ikea greenhouse cabinet (the Milsbo glass-door model shows up in nearly every plant forum for a reason) is the natural next move. This guide covers picking the right cabinet, wiring up lighting and humidity control, and choosing plants that will genuinely thrive behind glass, skipping the trial-and-error most beginners stumble through.
Why Move Beyond Pothos?
Pothos survives almost anything. Low humidity, missed waterings, a dim corner of the apartment, it shrugs it off. But there’s a whole tier of gorgeous plants, Fittonia, Syngonium, jewel orchids, miniature ferns, that demand humidity in the 60-80% range, day after day. No open room in a normal house holds that kind of moisture. An enclosed cabinet fixes the problem by trapping humidity inside, turning a piece of furniture into a mini-greenhouse sitting right in your living room.
Step 1: Choose the Right Cabinet
Ask around any houseplant group and the Ikea Milsbo comes up constantly. A few reasons why:
- The glass doors seal well enough to hold humidity in without much effort.
- At roughly 145cm tall, there’s plenty of room for adjustable shelving and multiple plant tiers.
- The shelves themselves are glass, so light actually reaches the lower levels instead of getting blocked.
There are cheaper routes. The Detolf costs less but doesn’t seal nearly as well. Some people repurpose an old bookshelf and bolt on glass doors themselves. Still, for anyone starting out, the Milsbo hits the sweet spot between price, size, and how well it holds moisture.
Step 2: Add Grow Lights
Window light almost never makes it past the top shelf of a closed cabinet, let alone down to the bottom one. So you’ll need:
- LED strip lights (full-spectrum, around 6500K) mounted under each shelf.
- A basic timer, mechanical or smart, doesn’t matter, set to run 10-12 hours daily.
- Lights placed 6-12 inches above the leaves so you don’t scorch them.
Budget strips from Barrina or Hitlights do the job just fine, and they stick right onto the underside of each shelf with adhesive clips. No drilling required.
Step 3: Manage Humidity and Airflow
Here’s where most people mess up: sealing the cabinet shut like a jar. That’s a fast track to mold and fungus gnats. What you actually want is balance:
- A small USB clip fan running on low for gentle circulation, nothing that would knock leaves around.
- A hygrometer so you’re not guessing. Aim for 60-70%.
- Crack the doors open for an hour each day, or drill a few small vent holes near the top and bottom of the cabinet.
- If humidity keeps dropping, a small humidifier or a pebble tray with water underneath will bump it back up.
Step 4: Pick the Right Substrate and Drainage
Cabinet shelves are wood or glass, not waterproof, so don’t just plop a soggy pot straight onto them:
- Keep pots with drainage holes inside waterproof trays or cachepots.
- A chunky aroid mix, bark, perlite, sphagnum moss, keeps roots from rotting even in constant humidity.
- Line the shelves with a waterproof mat or shelf liner too. Cheap insurance against water damage.
Step 5: Choose Beginner-Friendly Cabinet Plants
Once the setup’s running smoothly, these humidity lovers make a good entry point before you graduate to trickier species:
- Fittonia (nerve plant) – loves the humidity, forgives the occasional mistake.
- Syngonium varieties – fast-growing, colorful foliage, handles enclosed lighting well.
- Peperomia species – stays compact, tolerates the warm, humid air without complaint.
- Maidenhair fern – finicky elsewhere, but give it steady moisture and it rewards you with lush new fronds.
- Jewel orchids (Ludisia, Macodes) – a solid bridge plant before tackling true orchids.
Common Mistakes to Avoid
- Overcrowding: pack the shelves too tight and airflow disappears, inviting fungal problems.
- No monitoring: a $10 hygrometer/thermometer combo beats guessing every time.
- Ignoring temperature buildup: grow lights throw off heat, so check that the cabinet stays under 80°F (27°C).
- Watering by calendar instead of by need: stick a finger in the soil before you water, not just because Tuesday rolled around.
Conclusion
An Ikea greenhouse cabinet is a cheap, apartment-friendly bridge from easy plants like pothos into a much deeper, more rewarding side of the houseplant hobby. Get the lighting right, dial in the humidity, pick plants that suit an enclosed space, and you’ve basically built a thriving little ecosystem over a weekend. Start simple. Watch how the cabinet behaves over the first few weeks, then start adding the more delicate species once you’ve got a feel for it.