Sub-Irrigated Planters for Maidenhair Ferns: Setup & Fixes
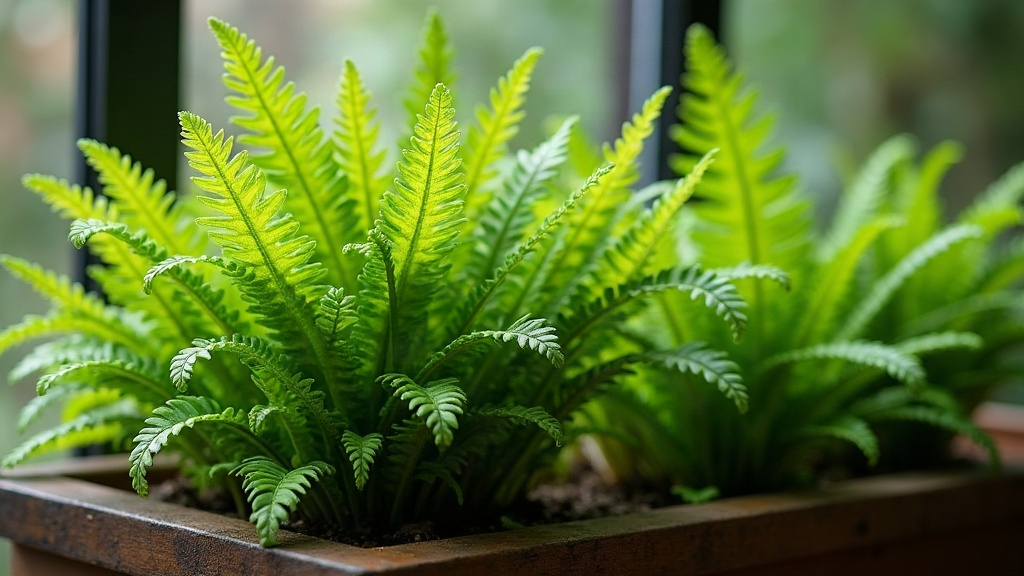
Maidenhair ferns (Adiantum) have one real weakness: they can’t handle watering swings. Miss a day and the fronds go crisp within hours, sometimes before you even notice the pot feels light. A sub-irrigated planter (SIP), basically a container with a water reservoir and a wicking system, fixes this by feeding moisture from below instead of making you chase a watering schedule. That steady dampness is exactly what this fern gets in nature. Here’s how to build one properly, plus the fixes for the problems that show up most.
Why Sub-Irrigation Works So Well for Maidenhair Ferns
In the wild, maidenhair ferns cling to wet rock faces and stream banks, where their thread-thin roots stay damp around the clock but never sit in standing water. Top watering in a regular pot can’t replicate that. You get a soggy day one, then a bone-dry day three, and the fern pays for it. A reservoir system removes that swing entirely. The root zone stays evenly moist whether you’re home to water or not.
Setting Up a Sub-Irrigated Planter: Step by Step
1. Choose the Right Container
- Pick a planter with a clear divide between the water reservoir and the soil chamber, or rig a DIY version from two nested containers (a deli tub inside a slightly bigger bin works fine).
- A fill tube or sight gauge matters more than people expect. Without one, you’ll end up poking around in wet soil just to guess the water level.
- Keep the reservoir shallow, 2-3 inches at most. Maidenhair roots barely go deep, and a tall wicking column will leave the upper soil soggy for days.
2. Build the Wicking Layer
- Synthetic wicking cord, a strip of capillary matting, or a column of perlite/LECA all work to bridge the reservoir and the soil above.
- Skip cotton wicks. They look cheap and convenient, but they rot and mold within weeks in a reservoir that never dries out.
3. Pick a Moisture-Retentive but Airy Mix
Maidenhair needs a mix that pulls water upward efficiently while still leaving room for oxygen at the roots:
- 2 parts peat-free potting mix or coco coir
- 1 part perlite
- 1 part fine orchid bark or chopped sphagnum moss
This blend wicks steadily without collapsing into a dense, airless sponge, which is the real risk with heavier mixes.
4. Add an Overflow Hole
Drill or poke an overflow hole right at the reservoir’s maximum fill line. It’s a small detail, but it’s the thing that saves your fern when someone (you, a roommate, a well-meaning neighbor watering your plants) tops off the reservoir a little too enthusiastically.
5. First Fill and Settling Period
Fill the reservoir, then wait. Give the wick 24-48 hours to fully saturate the soil before you plant the fern into it. Press a finger into the surface soil: it should feel lightly moist, not wet. If it’s dripping, give it more time.
Troubleshooting Common Problems
Fronds Turning Brown and Crispy
Nine times out of ten, this means the wick failed, dried out, or lost contact with the soil above it. Check:
- Whether the wick is still touching both the reservoir water and the root zone.
- Whether the reservoir sat empty for more than a day or two without you noticing.
Yellowing Fronds and Mushy Stems (Root Rot)
If the reservoir never fully dries out and the wicking material is too thick, the soil stays saturated far longer than the roots can handle. To fix it:
- Switch to a thinner wick or narrower cord.
- Add more perlite or bark to the mix for better airflow.
- Let the reservoir go dry briefly, once a week, so oxygen levels in the root zone can reset.
Algae or Mold Growing in the Reservoir
Green-tinted water or a musty smell usually means light or organic debris is getting into the reservoir.
- Switch to an opaque outer pot that blocks light completely.
- Rinse the reservoir with plain water every 3-4 weeks.
Mineral Crust on the Soil Surface or Pot Rim
Water wicks up and evaporates at the surface, so salts and minerals concentrate there over time, sometimes forming a white crust you can actually scrape off with a fingernail.
- Flush the planter from the top with distilled or filtered water every 4-6 weeks. This pushes salts back down and out through the overflow hole.
- If crust keeps building up fast, your tap water is probably too hard. Switch to filtered or distilled water.
Fern Looks Thirsty Despite a Full Reservoir
This one’s confusing at first: the reservoir’s full, but the fern is wilting anyway. Usually the wick has gotten compacted, glazed over with mineral deposits, or physically blocked by roots that have grown around it. Pull the wick, rinse it clean, and trim back any roots wrapped tightly around the cord.
Maintenance Checklist
- Check the water level weekly through the sight gauge.
- Refill with room-temperature, filtered water.
- Flush the top of the soil monthly to keep salts from building up.
- Inspect the wick every 2-3 months for clogging or early rot.
Conclusion
A properly built sub-irrigated planter takes the single biggest risk out of maidenhair fern care: inconsistent watering. Nail the reservoir depth, the wick material, and the soil mix, and almost every problem you’ll run into, crispy fronds, root rot, algae, salt crust, traces back to something simple in the wicking system or a missed flushing cycle. Give it steady moisture from below and the fern does the rest, rewarding you with the lush, feathery growth it’s known for.